How to setup a Windows CE Development Environment in a Virtual Machine
CESD|200225Applies To
- Windows CE 2.0
- Windows CE 2.10, Windows CE 2.11, Windows CE 2.12
- Windows CE 3.0
- H/PC Pro
- HPC2000
- Windows 10, Windows 11, Windows Server 2016, Windows Server 2019
- Hyper-V
Contents
- Overview
- More Info
- Virtualisation Solution
- Windows Platform
- How-To
- Install Hyper-V
- Configure Hyper-V
- Create the Virtual Machine
- Enable Hyper-V CPU Compatibility Mode
- Installing Windows
- Text Mode Setup
- GUI Mode Setup
- Increase the Hard Drive and RAM sizes
- Updating Windows NT 4.0
- Copying update files to the system
- Files you will require
- Update System Security
- Display Driver
- Improving Remote Access
- Accessing File Shares
- Installing Windows CE Developer Tools
- Embedded Visual Tools 3.0 (eVT 3.0)
- HPC2000 SDK
- Visual Studio 6
- Windows CE Toolkit
- H/PC Pro SDK
- HPC2000 SDK
Overview
If you are new to the Handheld PC and wish to take up the challenge of programming for legacy versions of Windows CE. You may have found the idea of getting started with Windows CE development to be overly complicated and quite confusing.
You are not alone in this. Microsoft intentionally made the processes of starting to programme for Windows CE difficult. For Microsoft in the second half of the 1990's. Windows CE developers were not the orchestrate of creating a community of developers through which to sell Windows CE licenses. They were a tightly controlled revenue stream. If you wanted to code for Windows CE, you had to pay - a lot!
It was only after Windows CE first started showing signs of serious decline that Microsoft started to offer tools for free. It was too little, too late for the Handheld PC and the complexity of C++ programming in the era of Generation 4 programming languages would ultimately put more and more people off of getting started. If you are new to programming. Don't worry. VB is a good option, especially if you are just getting started with programming.
The bigger problem is that in 2019. None of the legacy 1990's development tools work properly. They are from a different era and cannot run under Windows 10.
This article helps you to setup an optimal development environment in a Virtual Machine.
More Info
Virtualisation Solution
The article will assume that you are using Hyper-V. Hyper-V is included in 64-bit (x64) editions of Windows 8, 8.1 and 10 Professional, Enterprise or Education. It is also available for Windows Server 2008 and later.
You can use any Virtualisation solution to follow this guide. Including but not limited to VMWare Workstation, VirtualBox and KVM.
Windows Platform
This guide is going to assume that you are using Windows NT 4.0 Workstation.
When getting started with Windows CE development. Most people attempt to opt for Windows 95 or Windows 98. Don't!
While it is true that the development tools will run under Windows 9x. They are not optimised for Windows 9x. You cannot run the Windows CE Emulation and test environment under Windows 9x and the lacklustre stability of these versions of Windows make them less than ideal for development activities.
Windows NT 4.0 Workstation has been chosen because the software and tools that we will be installing were written specifically for it. If you do not have access to Windows NT 4.0, you can use Windows 2000 or Windows XP.
Windows NT 4.0 is less RAM intensive and will require significantly less disk space over the other options. The only advantage to using Windows XP Professional is access to Remote Desktop which may make the process of copy/pasting material into the Virtual Machine easier compared to using the Virtualisation Solution's normal user interface.
Getting files in and out of Windows NT 4.0, 2000 or XP poses an identical set of problems due to the use of down-level versions of Windows file sharing (SMB). Consequently there are no explicit benefits that should influence your choice of using a more modern base OS.
The order of preference of selecting which version of Windows to use for Windows CE development is as follows
- Windows NT 4.0 Workstation
- Windows XP Professional (x86)
- Windows 2000 Professional
- Windows XP Home (x86)
- Windows 98
- Windows 95
- Windows Millennium
How-To
If you intend to use Hyper-V. Please follow the guide below.
If you wish to use a different virtualisation solution. You must configure a Virtual Machine to be equivalent to the following:
- BIOS based
- 1 or 2 CPU cores (no higher)
- 512MB or less of RAM
- Do not use dynamic memory
- An NT 4.0 compatible network adapter (i.e. not a synthetic one)
- A physical/virtual CD drive
- A physical/virtual floppy drive
- A 2GB virtual hard drive (under no circumstances start with a disk over 8GB)
For non Hyper-V setups, please skip to the Text Mode Setup section of this article.
Install Hyper-V
Note: You must have Windows 8/8.1/10 Pro x64 or Windows Server x64 to install Hyper-V. Your PC must be running a 2009 first generation Intel Core i5/i7 or newer processor (or AMD equivalent) for Hyper-V to work.
- Open the Windows 'Control Panel'
- Choose 'Programs and Features'
- On the left-hand side select 'Turn Windows features on or off'
- Select Hyper-V and its management tools
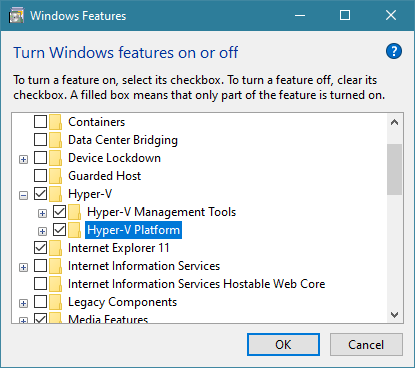
- Click OK
- After the installation has completed, reboot your computer when ready.
Note: If you receive a compatibility error message, and you are confident that your CPU and motherboard are modern-enough to meet the Hyper-V system requirements. You may need to boot into your BIOS/UEFI and enable the 'Intel VT-d' configuration option.
Configure Hyper-V
- On your Hyper-V PC/Server open 'Hyper-V Manager' by searching for Hyper-V via Windows Search
- On the right-hand side. Select 'Virtual Switch Manager'
- Click on 'External' from the list and click 'Create Virtual Switch'
- Name the switch 'Internet'
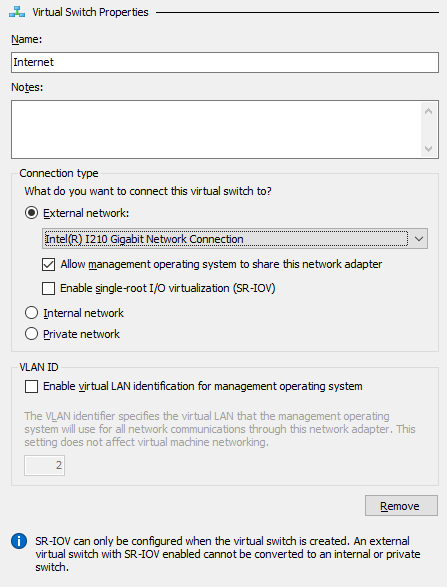
- From the External Network adapters list, choose your Ethernet (or WiFi) connection and click OK.
Note: You will lose network connectivity for a few moments after you click OK
Create the Virtual Machine
The following is based around information from: https://www.c-amie.co.uk/technical/windows-nt-4-0-on-hyper-v-2016/
- On your Hyper-V PC/Server open 'Hyper-V Manager' by searching for Hyper-V via Windows Search
- On the right-hand side. Select 'New' and then 'Virtual Machine'
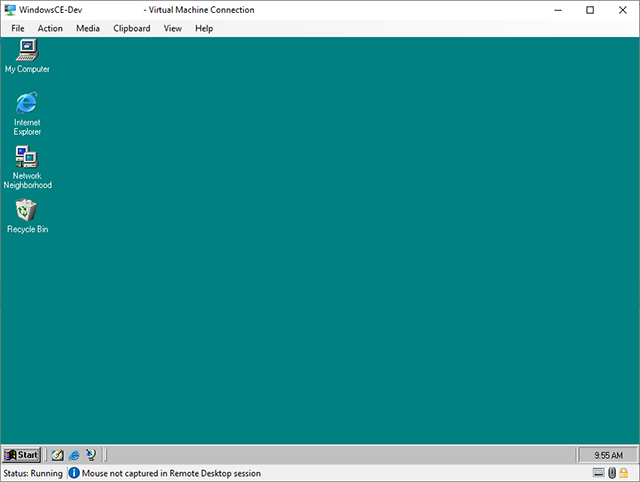
- Name your Virtual Machine "WindowsCE-Dev"
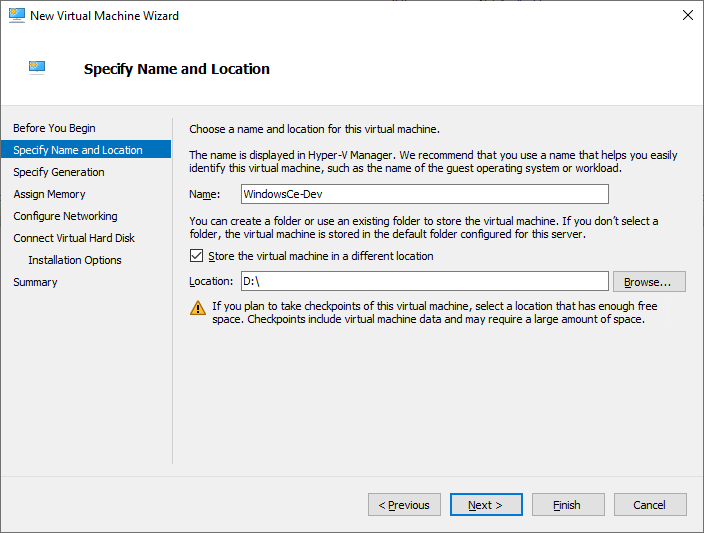
- Select where you wish to store the new Virtual Machine by ticking 'Store the virtual machine in a different location' and then clicking browse (you will require upwards of 10GB of disk space). Click Next
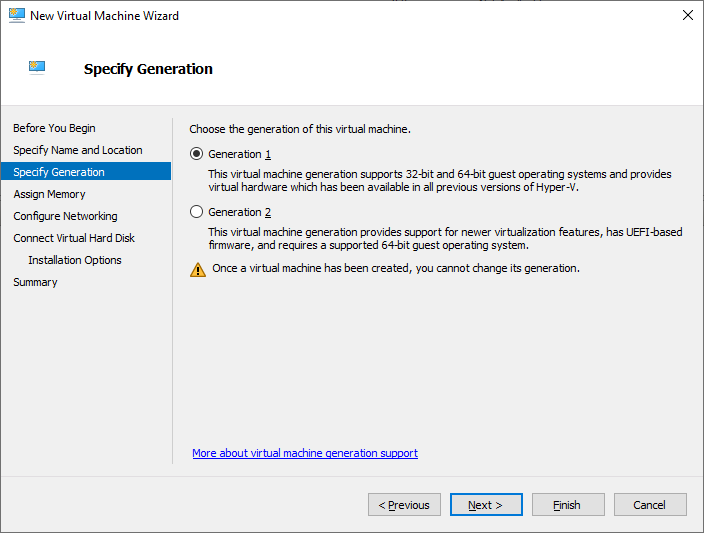
- Select Generation 1 and click Next
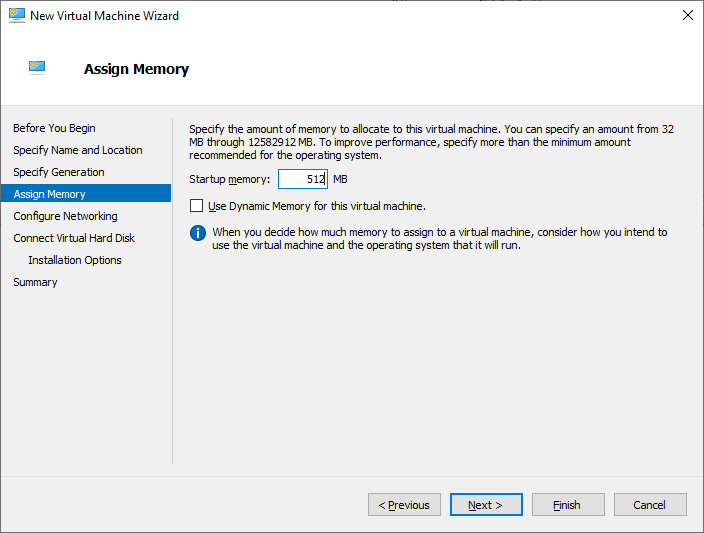
- In start-up memory enter a value between 64MB and 512MB. At this stage Do Not enter a higher value that 512 MB (important). Do not enable Dynamic Memory. Click next
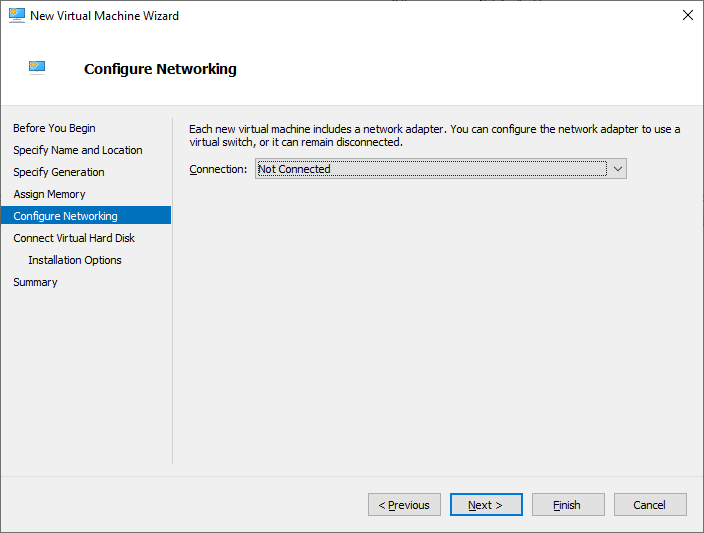
- On Configuring Networking, leave the connection setting on 'Not Connected' and click Next
- Leave the 'Create a virtual hard disk' option selected. If the path is not pointing to your preferred location, change it now.
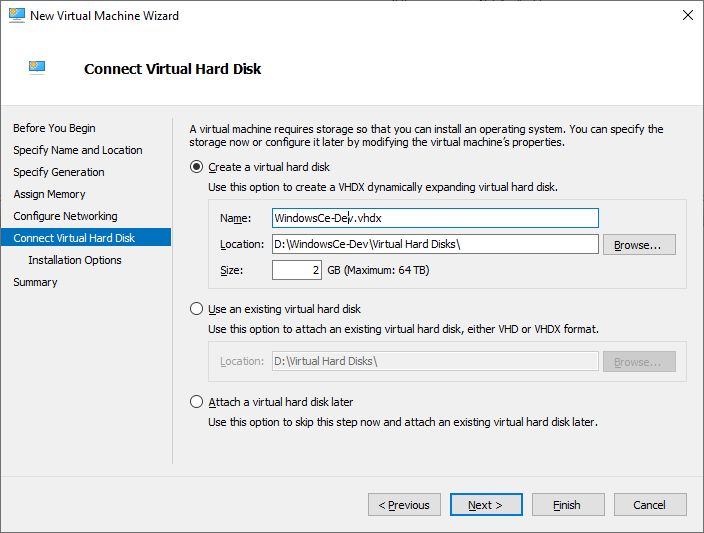
- In the Size box change the default 127 GB value to 2 GB (important). Click Next
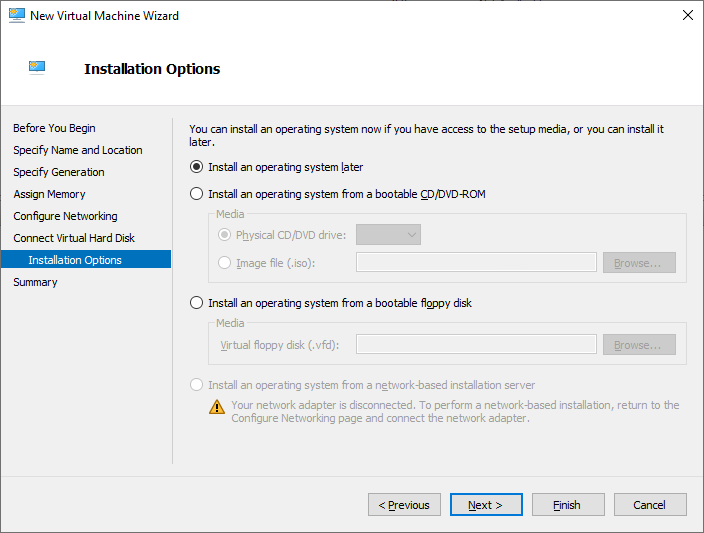
- Leave the default values and click Next
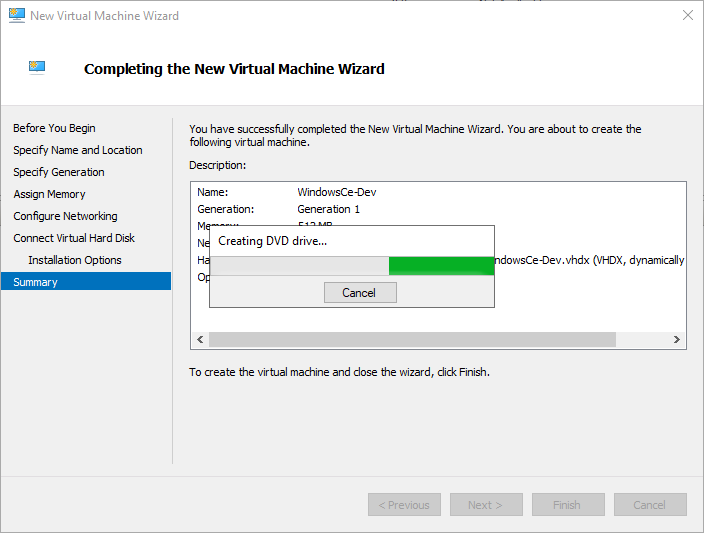
- Click Finish to create your Virtual Machine and close the wizard
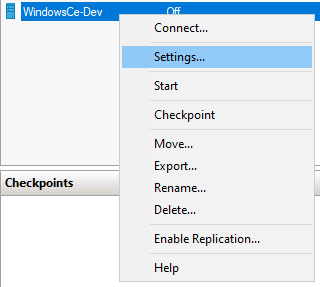
- Locate the new Virtual Machine in the Virtual Machines list, right click on its entry and click 'Settings...'
- [Optional] In the Processor section increase the number of virtual processor to 2.
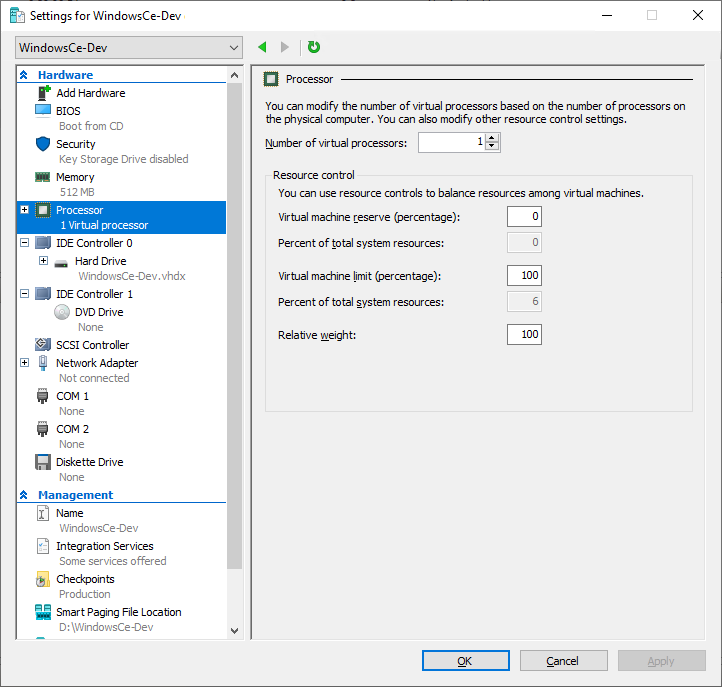
Note: The value must either be 1 or 2. Not higher. You cannot change this again later due to limitations in Windows NT/2000/XP.
- Select Network Adapter and click the Remove button
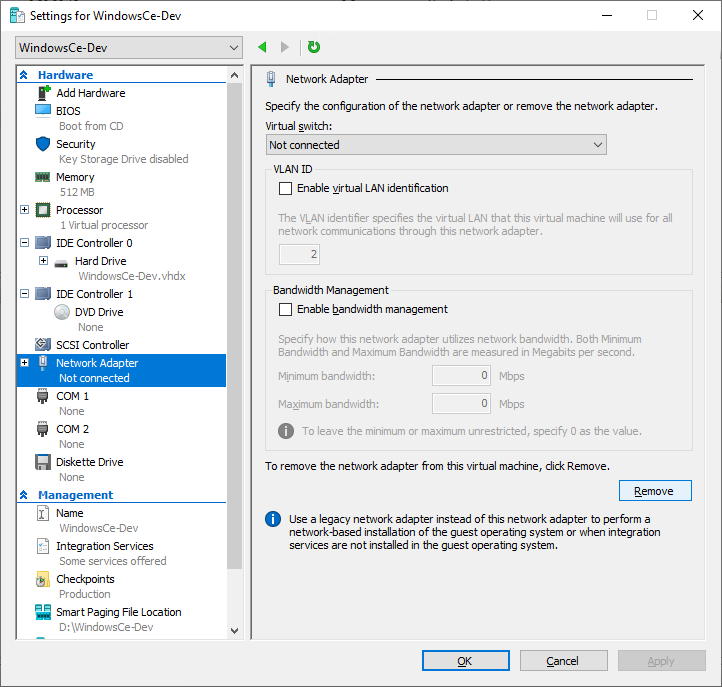
- Select Add Hardware. From the list choose Legacy Network Adapter and click add
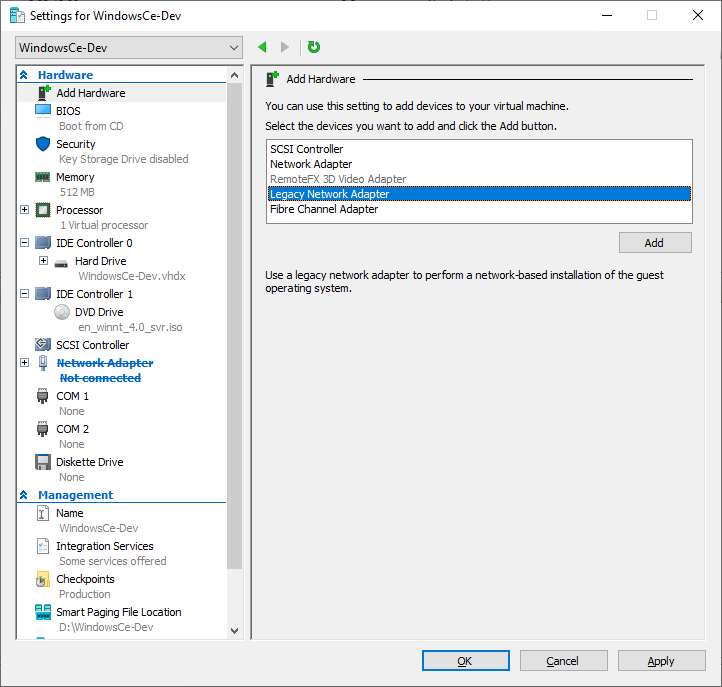
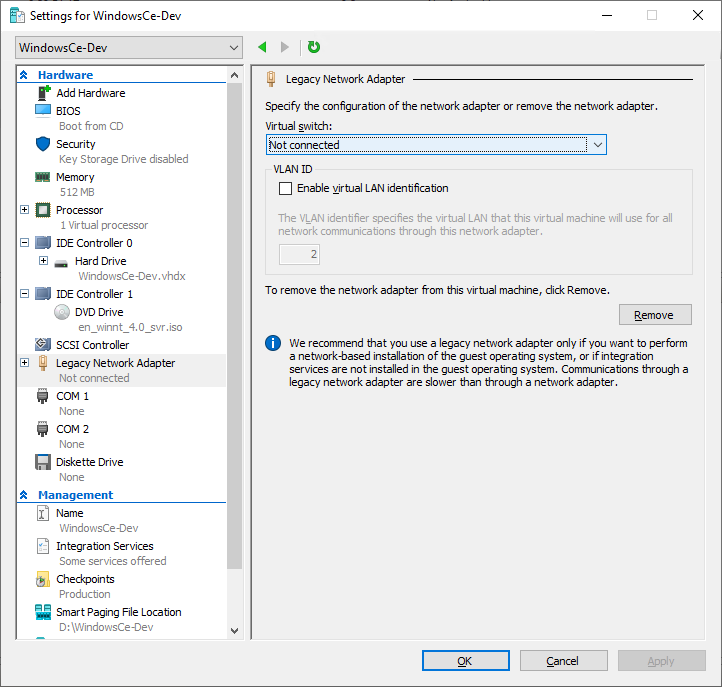
- Select the new Legacy Network Adapter on the left hand side and from the Virtual Switch list change 'Not connected' to 'Internet'
- Click on DVD Drive and click browse. Browse to the location of your Windows install ISO
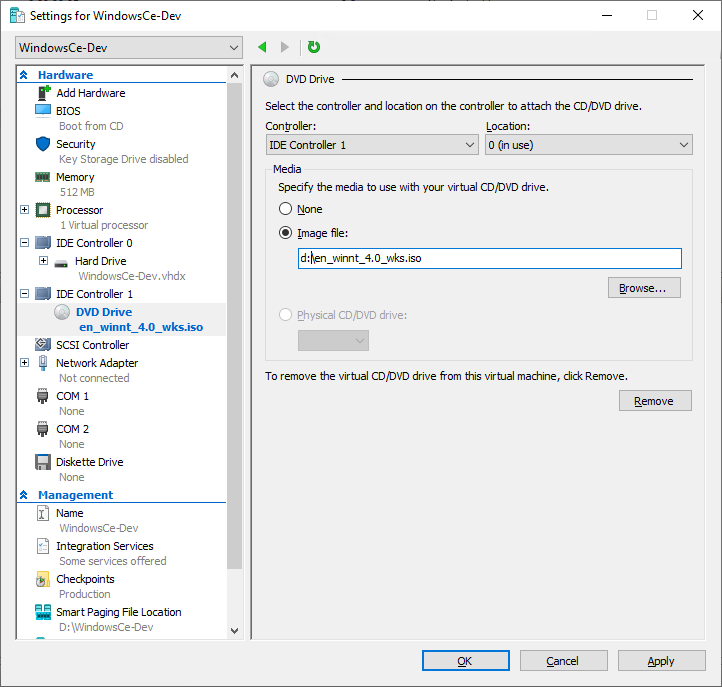
- Click OK to complete the configuration of the Virtual Machine and return to Hyper-V Manager
Enable Hyper-V CPU Compatibility Mode
Note: You do not need to perform this step if you are installing Windows XP.
- In Windows Search, search for PowerShell
- Right click on the search result for Windows PowerShell and select 'Run as administrator'. If prompted, confirm Yes for the elevation
- Type or copy/paste the following
- Set-VMProcessor "WindowsCE-Dev" -CompatibilityForOlderOperatingSystemsEnabled $true
- Press return
If PowerShell returns to the command prompt with no red error text. The command has been completed successfully.
Installing Windows
The following sections outline how to step through both Text Mode and GUI Mode setup.
Text Mode Setup
- Double click on the 'WindowsCE-Dev' virtual machine
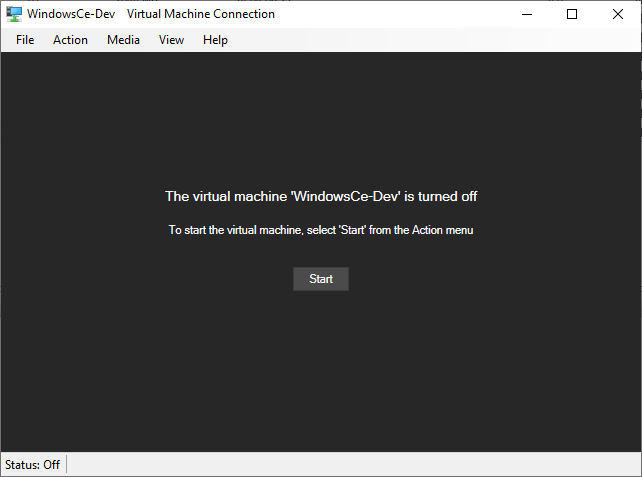
- Click the start button
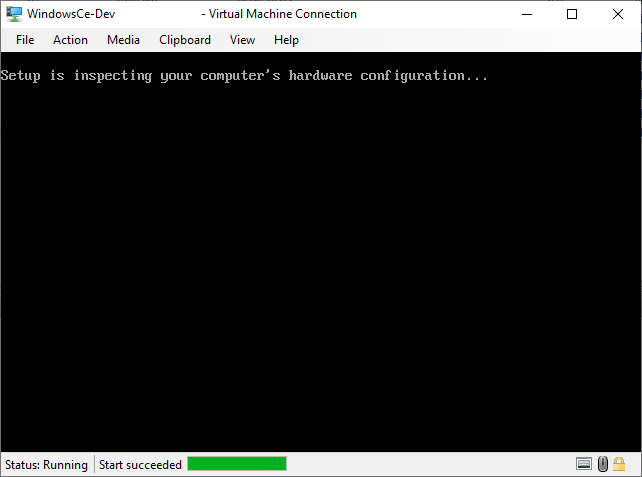
- Wait for setup to boot from the CD/ISO
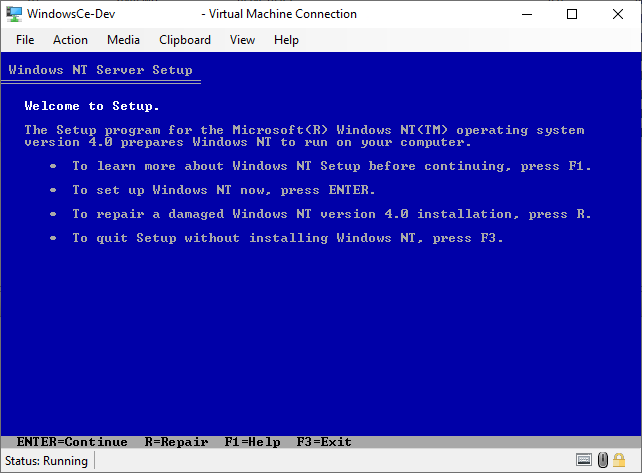
Press enter to begin installation
- Press enter to skip installing additional drivers
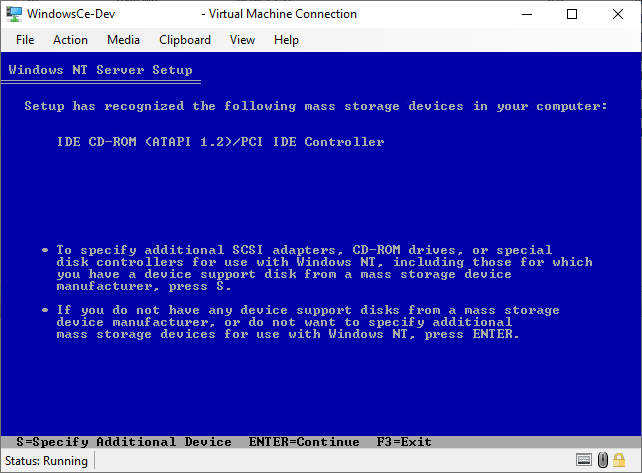
Note: If you are not using Hyper-V, it may be necessary to install additional drivers here for the hard drive controller in the Virtual Machine
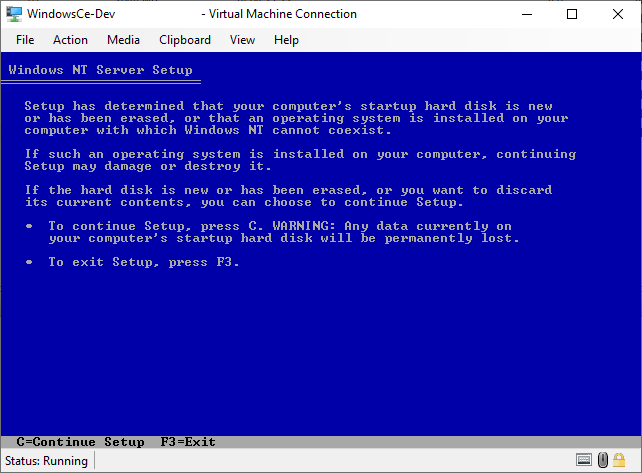
- Press 'C' to confirm that you understand that the hard drive will be erased
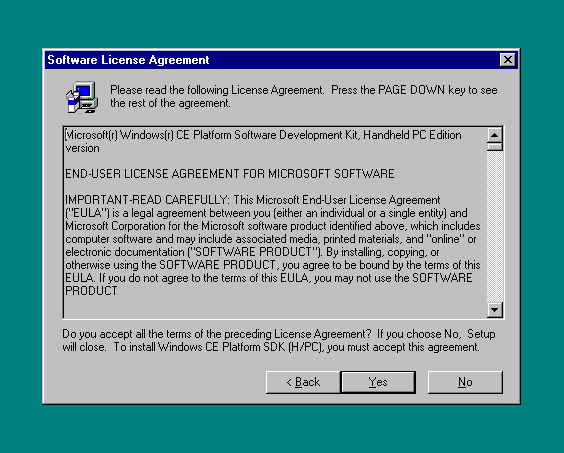
- Accept the EULA by pressing Page Down on the keyboard until you get to the end
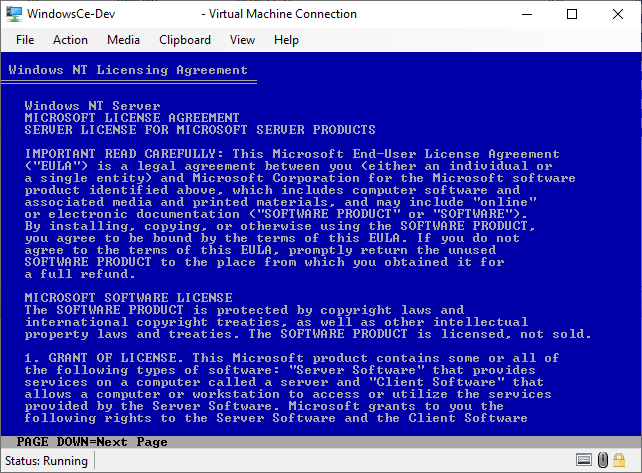
Then press the F8 key to progress

- Setup your base computer configuration
Set the keyboard and keyboard layout as required
[Important]
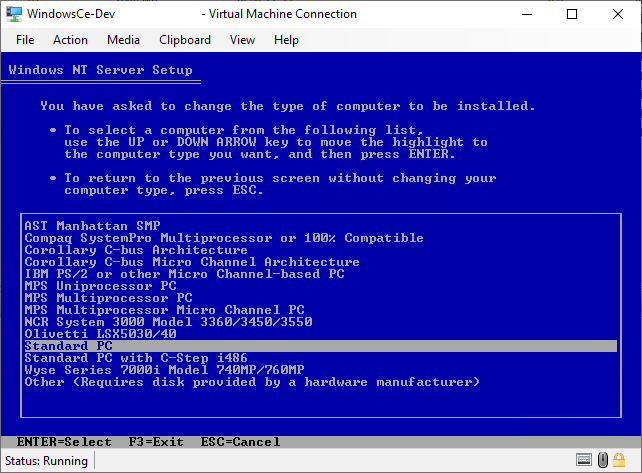
-- If you selected to use '2' CPU cores for the virtual machine. You must ensure that 'MPS Multiprocessor PC' is selected as the value for 'Computer' (it should be the default)
-- If you selected to use '1' CPU core for the virtual machine. You must ensure that 'Standard PC' is selected as the value for 'Computer' (this will NOT be the default and must be changed)
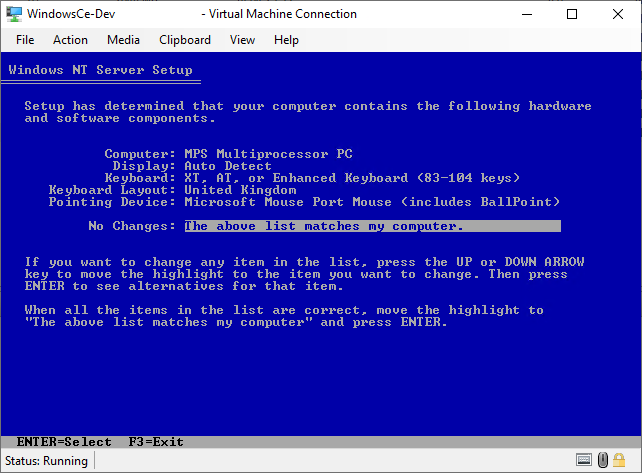
When ready. Select 'The above list matches my computer' to proceed
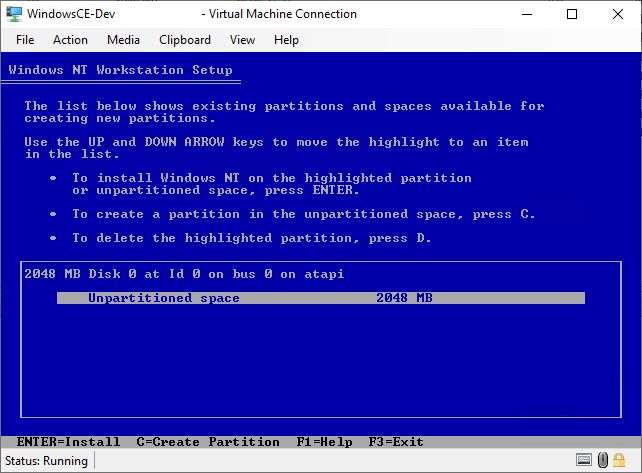
- Ensure that the 2048 MB partition is selected and press enter
- Change the default from FAT to NTFS
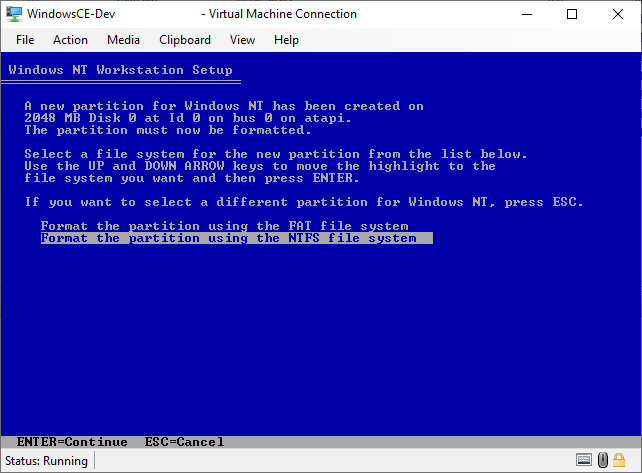
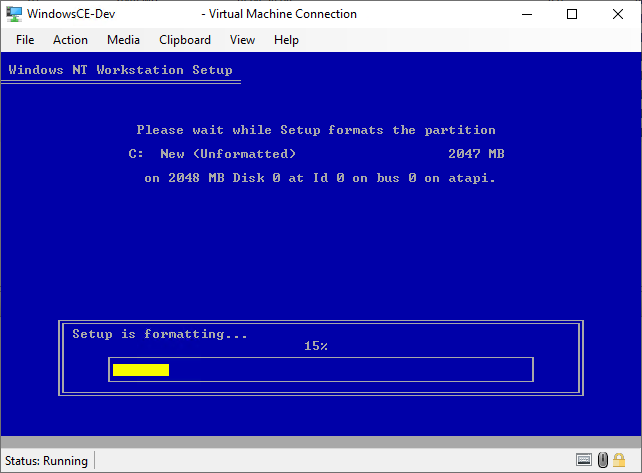
Setup will format the partition as FAT16 at the current time. NTFS conversion will occur later
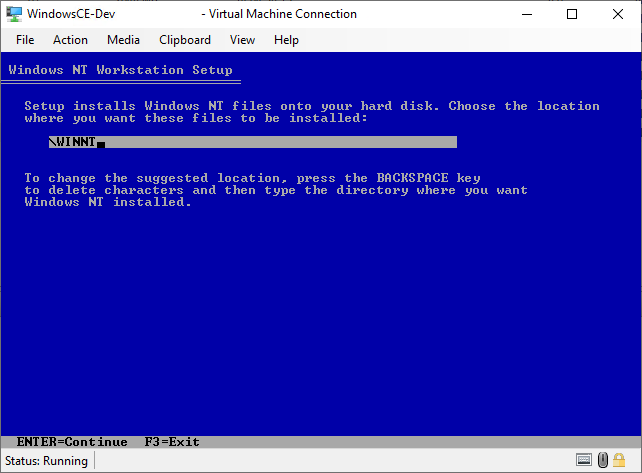
- Accept the default "WinNT" location for the Windows folder
Note: This was standard for Windows NT until Windows 2000
- Press escape to skip the disk check. It is not necessary on a Virtual Hard Drive
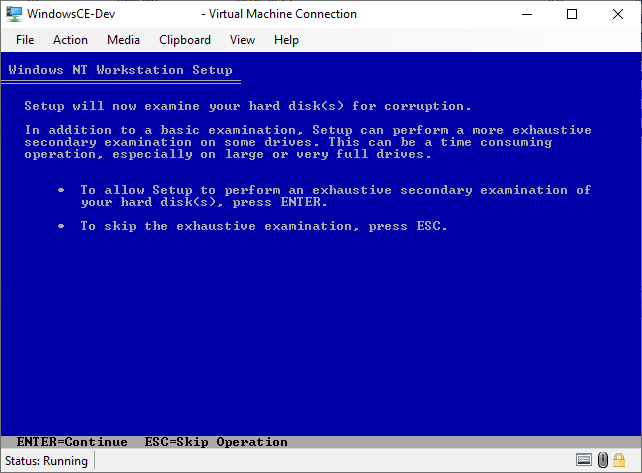
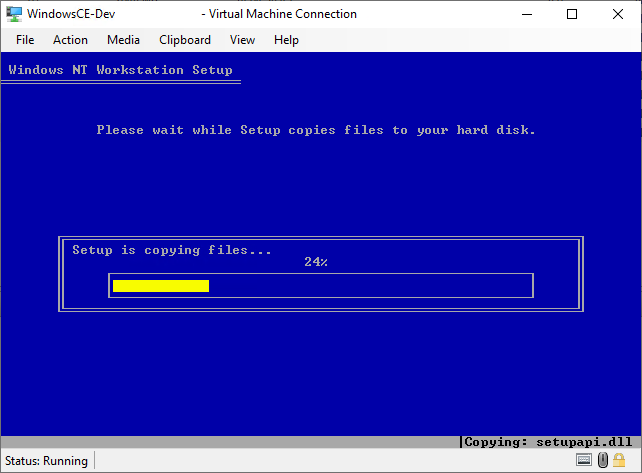
- Setup will now conclude text mode setup by copying files and preparing the hard drive
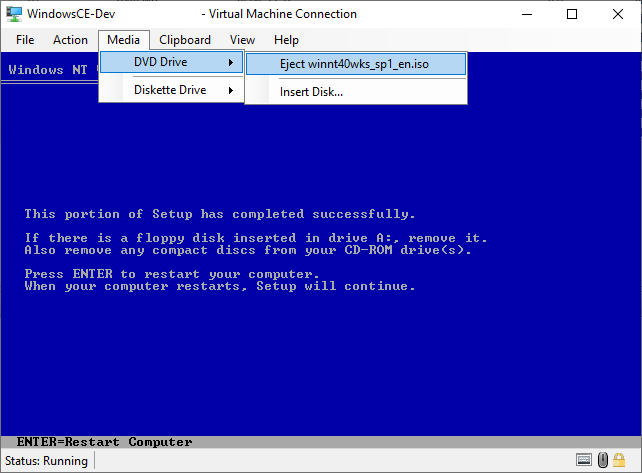
- Once complete. You must eject the CD/ISO from the Virtual Machine before you can continue.
On the Hyper-V Virtual Machine Connection menu, choose Media > DVD Drive > Eject...
Once ejected. Press enter to restart into GUI mode setup
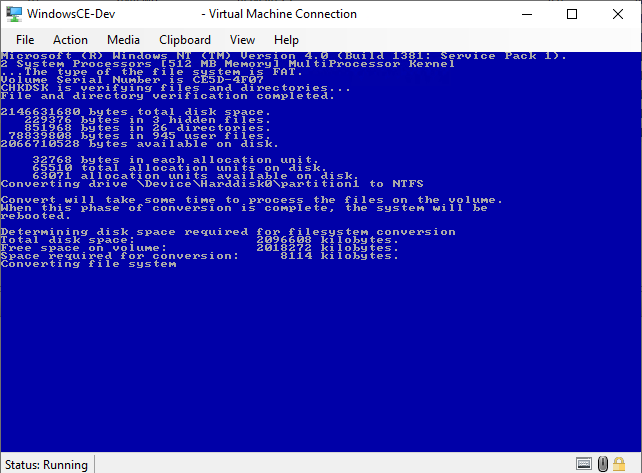
- The FAT16 partition will be converted to NTFS
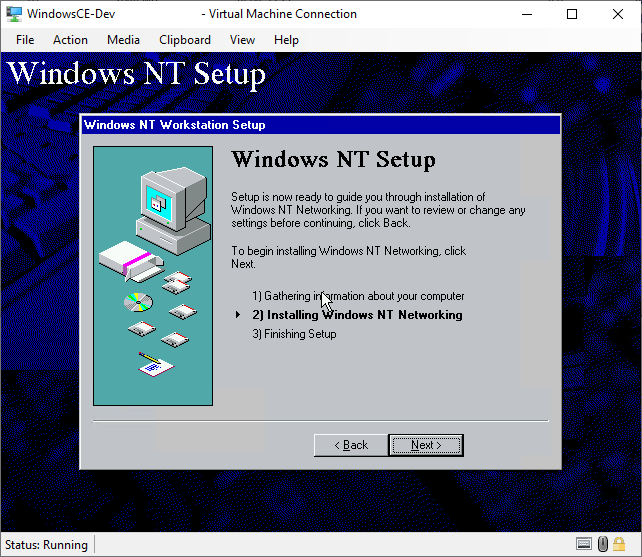
GUI Mode Setup
GUI Mode setup will configure and complete the installation of NT 4.0.
Note: [Important] As NT 4.0 does not support Hyper-V cursor integration. When you use the mouse in the Hyper-V window, it will become trapped in the Hyper-V Virtual Machine Connection window. To release the mouse use the following keyboard combination:
Ctrl + Alt + <Left Arrow Key/Left Cursor Key>
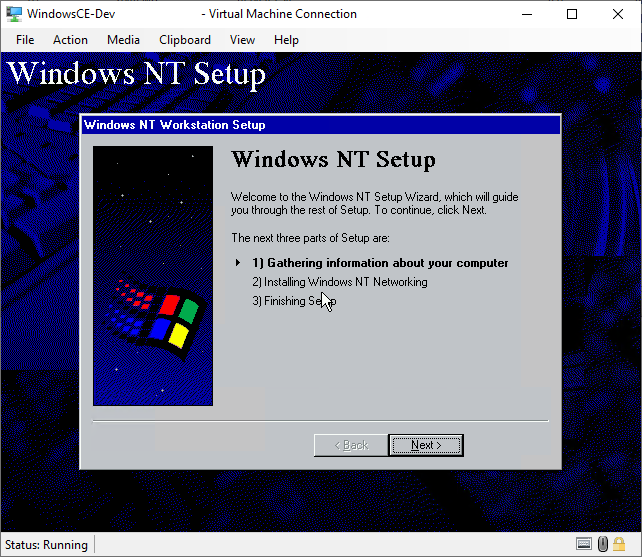
- GUI mode setup will launch
You must re-insert the Windows NT 4.0 setup CD/ISO. Use the Virtual Machine Connection menu by pressing Media > DVD Drive > Insert Disk.. and browse once more for the ISO or re-attach the physical CD-ROM
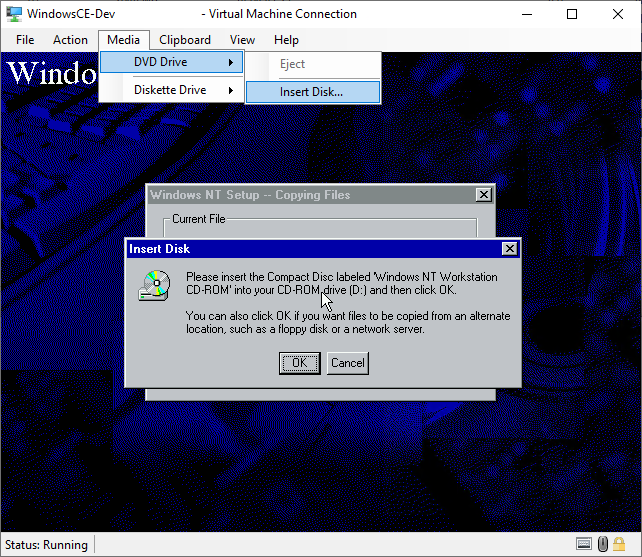
When ready. Click OK to continue
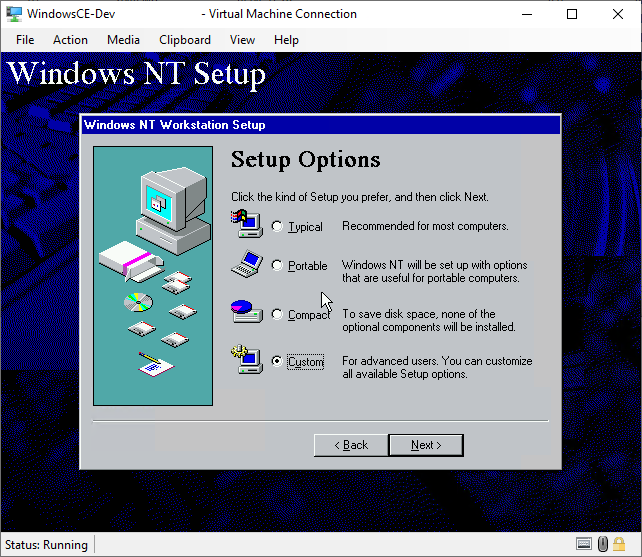
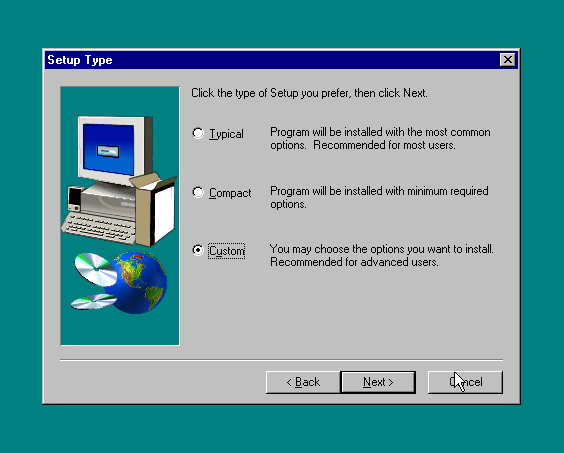
- Choose custom
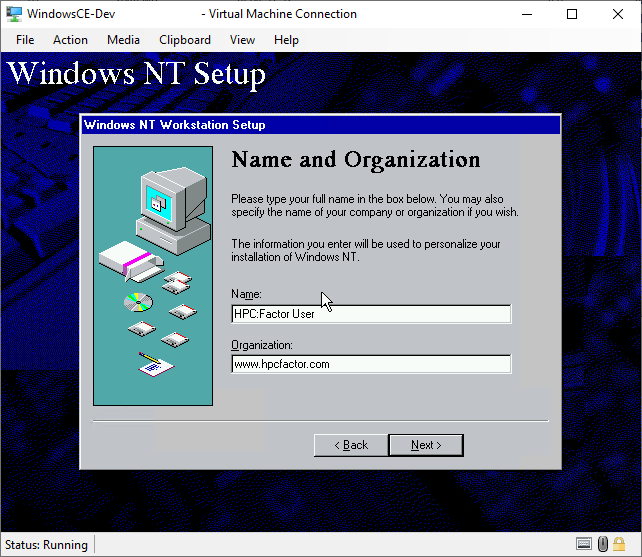
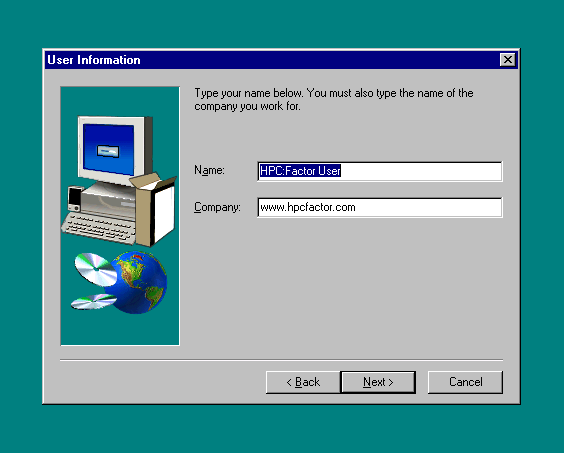
- Enter registration details
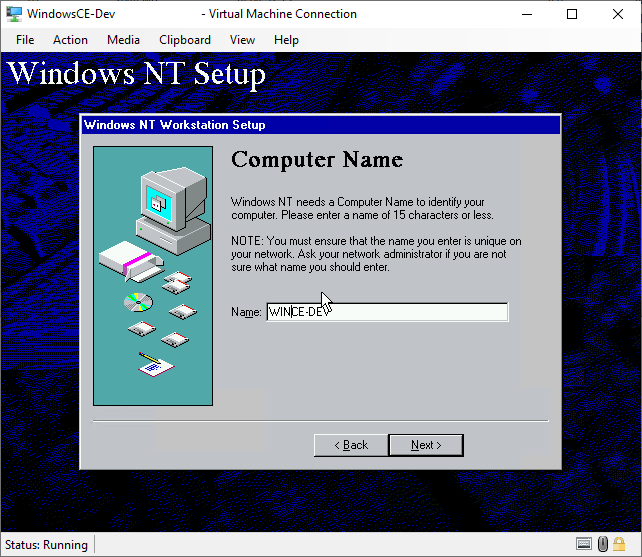
- Enter a network hostname. It should be no more than 15 characters and contain only A-Z, 0-9, - and _
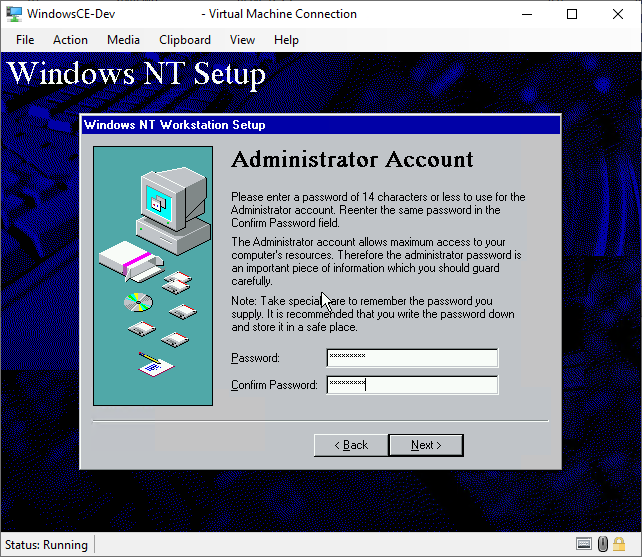
- Enter the administrators password
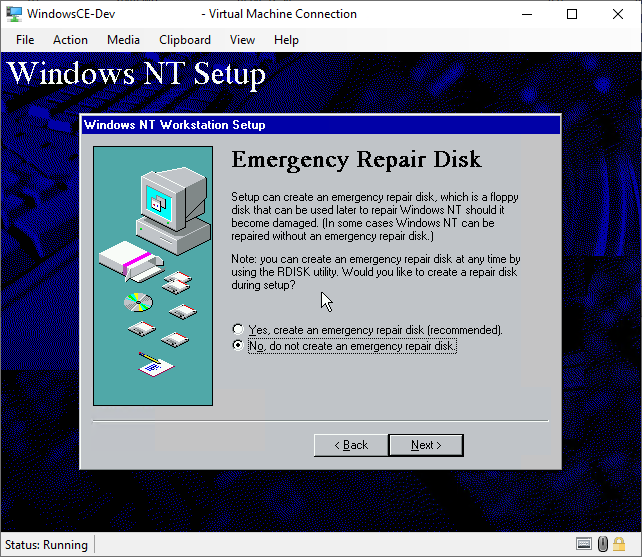
- Select No to skip creating an Emergency Repair Disk
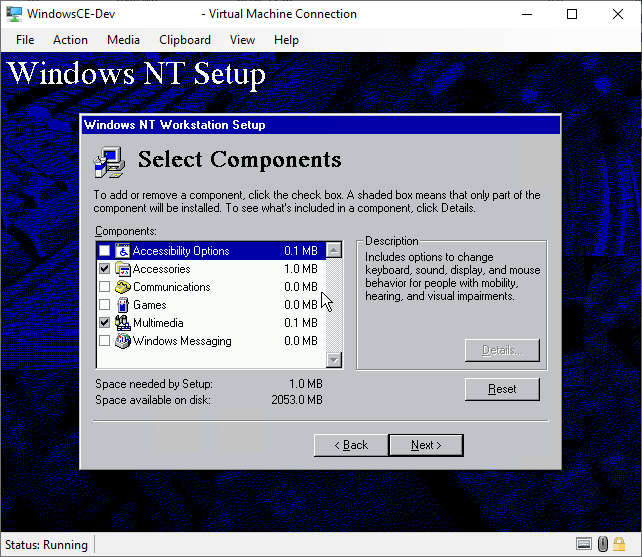
- Choose custom apps and accessories for the install.
It is suggested only to install Calculator, Paint and WordPad
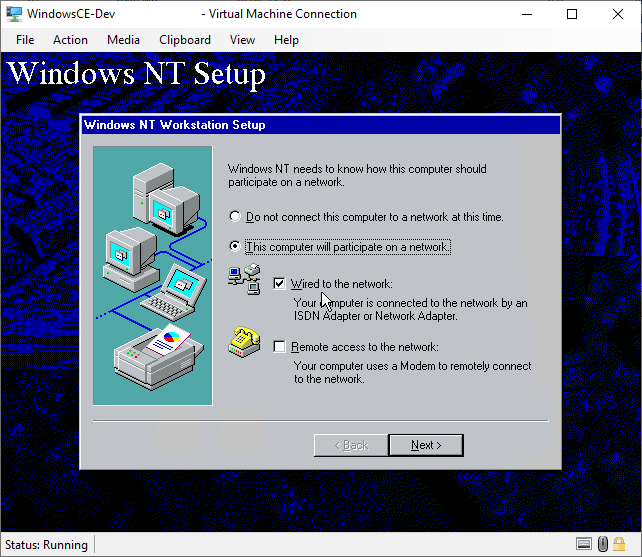
- Choose 'This computer will participate on a network' and only tick 'Wired to the network'
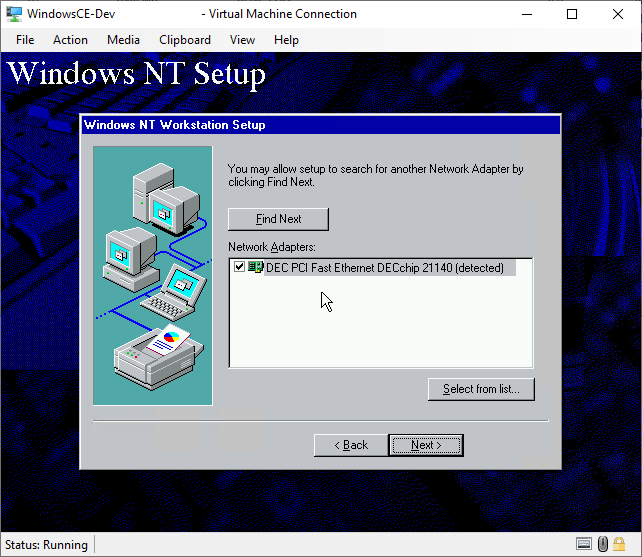
- Allow setup to detect network adapters. It should find the Hyper-V Legacy Network Adapter automatically. Place a tick next to the adapter and click Next
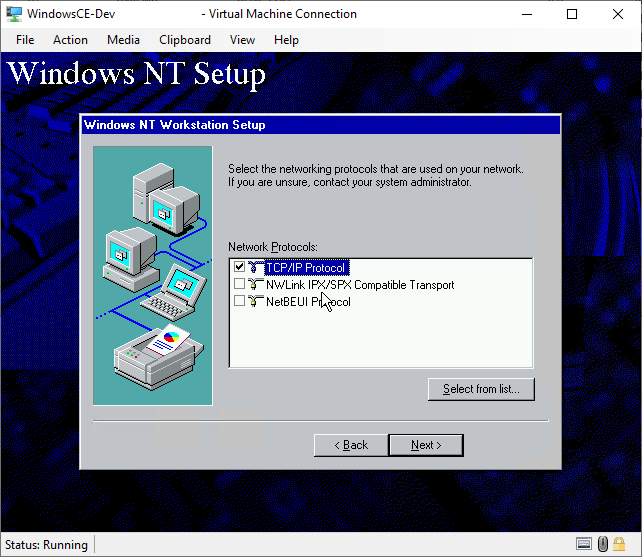
- Only select TCP/IP from the protocols list
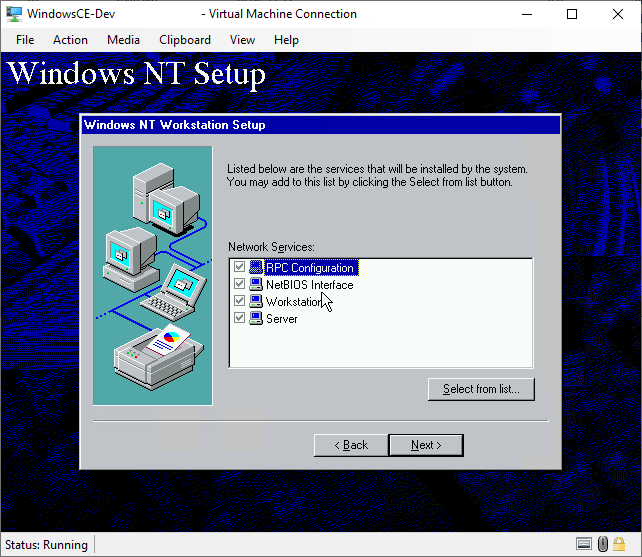
- Accept the default services configuration

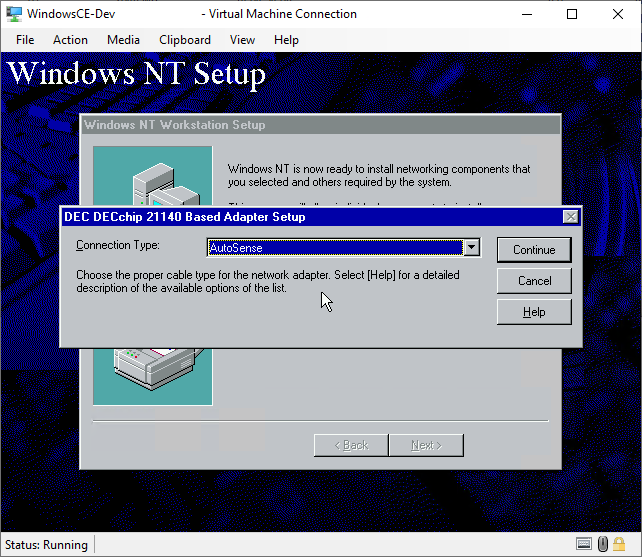
- Accept the defaults for the Legacy Network Adapter speed configuration
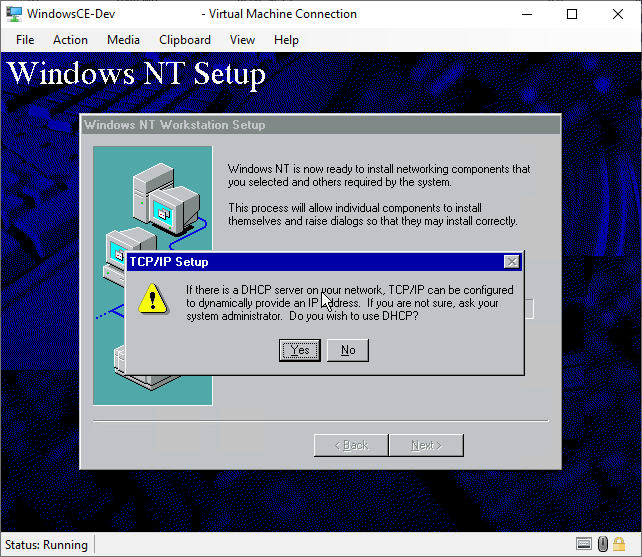
- If you have a broadband router on your network, you will have DHCP. If you specifically know that you do not, or wish to manually assign an IP address. Select 'No', otherwise select' Yes'
Accept the default bindings
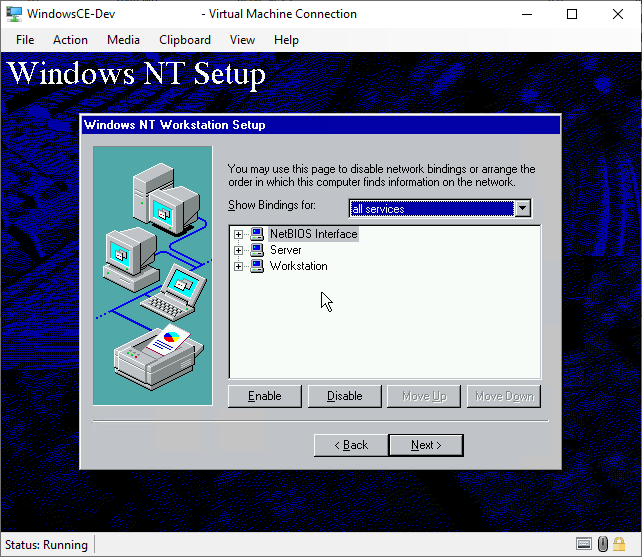
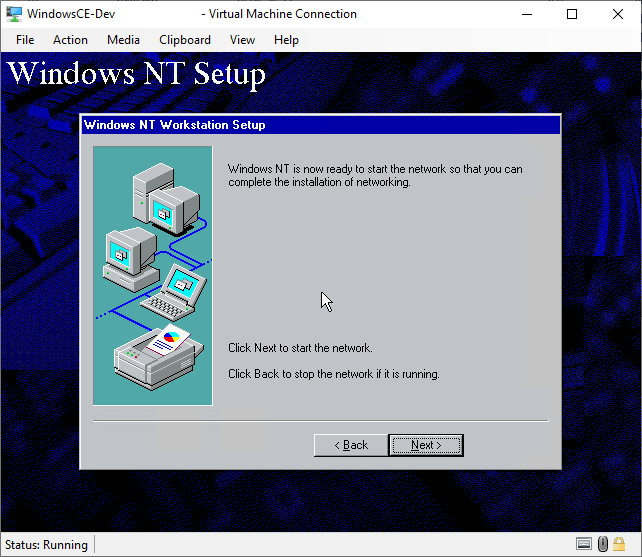
Start NT Networking
- SMB configuration. Unless you use a specific workgroup, leave it at the default values. Do not attempt to join it to a Domain. It will not work.

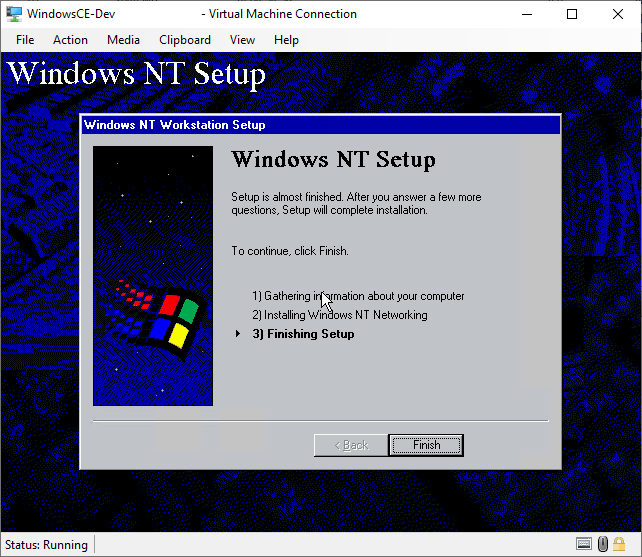
- GUI mode setup is now complete
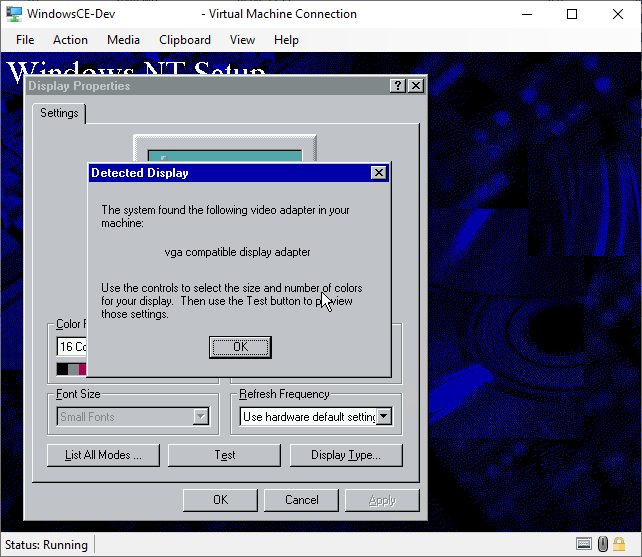
- Select your time zone

Skip the display adapter section by clicking OK twice. This will be configured later
- Click Restart Computer to complete setup and boot into Windows NT 4.0
The NT 4.0 boot loader

Welcome to Windows NT's logon screen
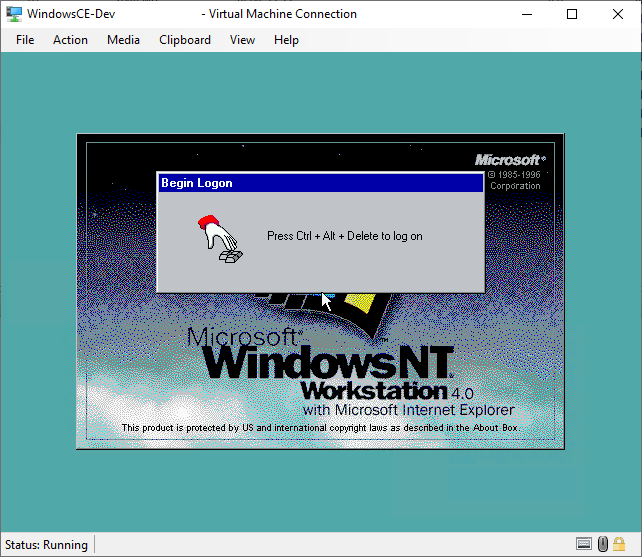
- In the Hyper-V Virtual Machine Connection menu bar, choose Action > Ctrl + Alt + Del
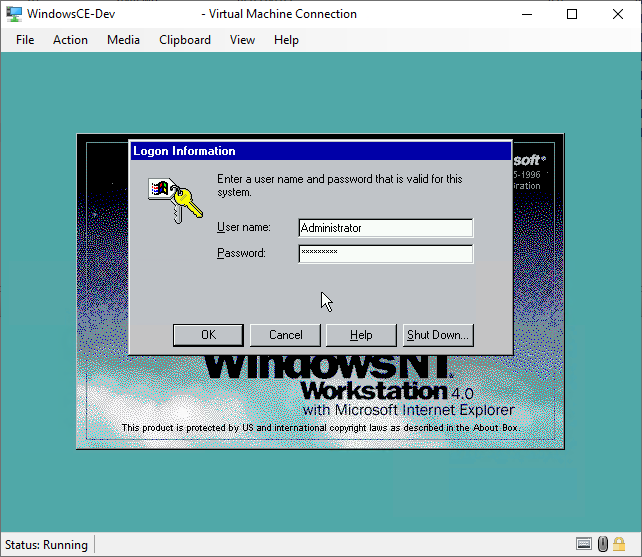
- Enter the Administrator password that you chose during setup
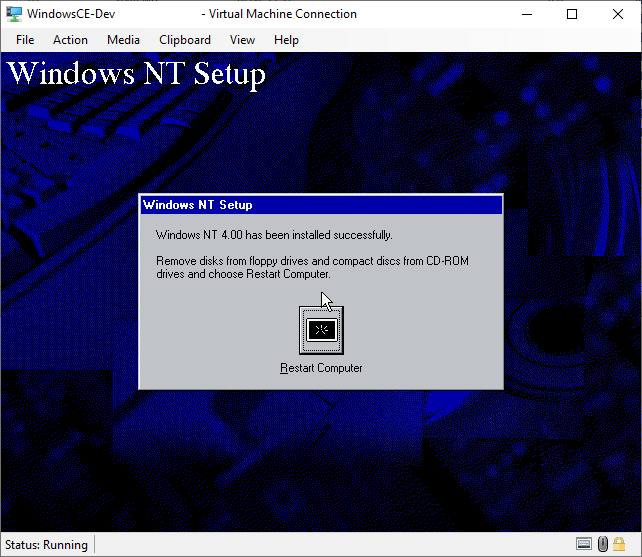
- Windows NT 4.0 has been successfully installed

Increase the Hard Drive and RAM sizes
Before doing anything else, it is necessary to fix the reason why it was necessary to install NT 4.0 with 512 MB or less memory on a 2 GB hard drive.
- Immediately install NT 4.0 Service Pack 6a. It is not necessary to install any other Service Pack first.
- Note: You must install SP6a at this point of the Virtual Machine will be rendered un bootable by this process
- Once installed, reboot, then shutdown and turn off the Virtual Machine.
- If required, in Hyper-V manager, increase the RAM to the desired amount.
NB: Remember that as NT 4.0 is a 32-bit system, it is not possible to use more than 4GB of memory.
- In the right hand pane of Hyper-V Manager click 'Edit Disk...'
- Browse for the Virtual Hard Drive
e.g. D:\WindowsCE-Dev\Virtual Hard Disks\WindowsCE-Dev.vhdx
Click Next
- Choose Expand and click Next
- Enter a new disk size.
Click next
- Click finish to expand the virtual disk
- Open Windows search and search for 'Computer Management'
- Right click on the search result and select 'Run as administrator'
- Left click Disk Management in the left hand pane
- Now right click the same Disk Management entry again
- Select 'Attach VHD'
- Browse for the Virtual Hard Drive
e.g. D:\WindowsCE-Dev\Virtual Hard Disks\WindowsCE-Dev.vhdx
Click OK
- [Important] If Windows 10 reports that there is an error on the disk and offers to repair it. Select No. There is no error, it is currently running a primitive version of NTFS.
- Locate the 2GB NTFS partition (note the blue Disk icon indicating that the disk is virtual). Right click on the partition (E: in the example)
- Select Extend Volume...
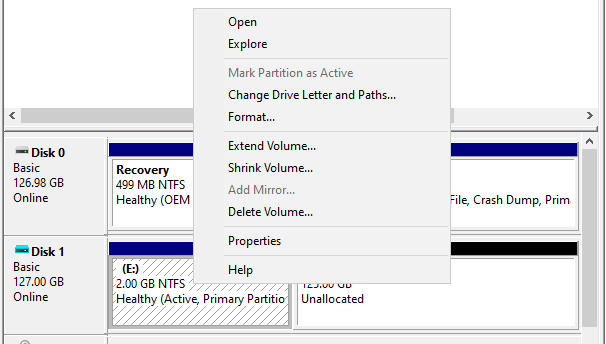
- Click through the wizard, leaving everything on default values. This will convert the 2 GB partition to fill the entire virtual hard drive
- Right click on the blue disk icon (Disk 1 in the example)
- Select 'Detach VHD' and click OK to dismount the virtual hard drive
- Start the virtual machine
Updating Windows NT 4.0
For a complete guide to the patches that must be installed see the HPC:Factor guide at the link below.
View:
HPC:Factor Windows NT 4.0 Patches & Updates Guide
Copying update files to the system
You can use Windows File Sharing to move files to and from Windows NT, but only after updating to SP6a and only once you have changed the security policy (see later) and enabled weaker SMB 1.0 support in Windows 10.
The fastest, quickest and most reliable way to move files from your host system onto the NT 4.0 Virtual Machine at this time is via a CD/DVD ISO file. Once created you simply attach the file to the Virtual Machine and access it as a CD-ROM drive.
You can use any tool to create a CD/DVD ISO file. A free and open source option is InfraRecorder for Windows
View:
InfraRecorder
Files you will require
Install Prerequisites
Manually install the prerequisite updates from the NT 4 Updates folder, rebooting where appropriate.
- Euro Currency Support
- Library Updates
- SP6a
- Internet Explorer 6.0 SP1
- KB299444 SP6a SRP1
- MDAC 2.8 SP1
- Jet 4.0 SP8
- Windows Installer 2.0
Recommended Updates
- 2 to 4 digit date converter
- Active Directory Client Extensions
- Agent 2.0
- DirectPlay 6.1a
- DirectX Media 6.0
- DMS Check
- MMC 1.2
- MSXML 2.6 SP3
- MSXML 3.0 SP7
- MSXML 4.0 SP3
- .net Framework 1.1 & .net Framework 1.1 SP1
- Root Certificate Updates for NT 4.0
- Security Configuration Manager
- Windows Script 5.6.0.8831
- WMI for Windows NT 4.0
Warning: Running DMA check and enabling DMA on all of your hard drives is strongly recommended for improved performance, but care should be taken for compatibility if you are not using Hyper-V.
Quick Fix Engineering Updates
QFE Updates (aka updates from Windows Update) should be installed before you begin to install Visual Studio. You can install them all at once and simply say 'no' / 'cancel' to any reboot prompts until after the script finishes. You only need to reboot once at the end of the script run.
Misc Files
- VMEMP Generic Display Driver
- VNC Server 3.3.7 x86
- Embedded Visual Tools 3.0 (not required if you intend to use Visual Studio 6 for development)
- H/PC Pro 3.0 SDK (only required for Visual Studio 6 installs)
- HPC2000 SDK (required for both Visual Studio 6 and Embedded Visual Tools installs)
Burn the files into your ISO and attach it the Virtual Machine.
After patching and updating. If you clear the contents of the 'C:\Temp' folder, 'C:\Program Files\Uninstall Information' and all of the '$NTUninstall..' folders in C:\WinNT. Then empty the recycle bin. At this point, the NT 4.0 install (excluding the page file) will be approximately 265 MB.
Update System Security
NT 4.0 is, in essence, Windows 96. Even by the end of Windows NT's run in December 2001, a lot had changed. In 1996 however, security in Windows was at best lackadaisical and at worst non-existent.
As a rule you should not attempt to use the Virtual Machine on the Internet - delete all entry points to launch Internet Explorer and do not attempt to install other web browsers on the system. Instead, copy and paste data in and out of the machine using a modern web browser.
You can make some small mitigation's to improve system security to that of an early Windows XP system:
- Client Start, Run and type 'mmc' (without the quotes). Click OK
- In MMC click the 'Console' menu and 'Add/Remove Snap in...'
- Press Add and select 'Security Configuration Manager'
- Click OK to load the SMC
- In the left hand pane, expand Security Configuration Manager
- Right click on the 'Database' entry and choose 'Import configuration'
- From the file list choose 'securws4.inf'
- Click 'Open'
- Right click on the 'Database' entry once more and choose 'Configure system now'
- Accept the default log file settings
- Wait for the configuration to apply. It can take several minutes to complete.
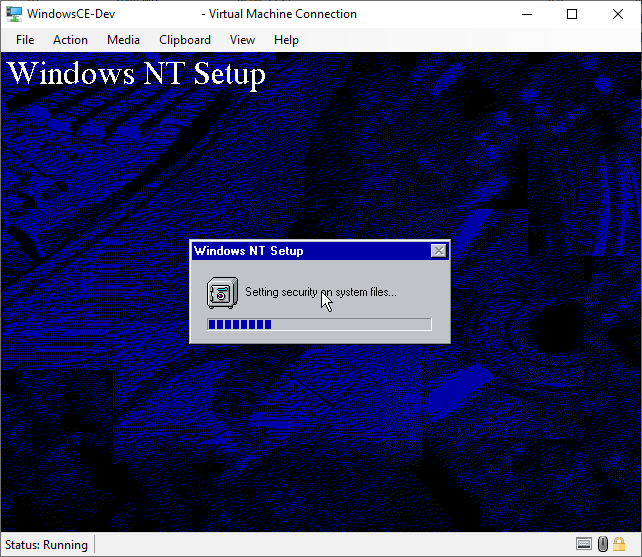
Once applied, immediately restart the computer for the security policy hardening to take effect.
Display Driver
By default, Windows NT will only display at 640x480 at 16 colour. You can add modern display resolution capabilities to Windows NT 4.0 by installing the vbempg generic driver for Windows NT.
- Click Start, Settings and open Control Panel
- Open the Display applet
- Select the Settings tab
- Click the Display Type Button
- Click the Change button
- Click the Have Disk... button
- Click the Browse button (ignore any A: error that you may receive)
- Browse to the driver. The drive you require is
.\vbe30\nt4\vbemp4.inf
- When prompted, select the
AnaPa Corp VBE Miniport
- Press OK to all messages and dialogues and when installed, reboot the Virtual Machine
- Once rebooted, return to Control Panel > Display > Settings
- Set the colour palette to 'True Colour' and set your preferred resolution
- Click on the Plus! tab
- Enable Smooth edge of screen fonts
- Enable Show icons using all possible colours
- Click OK and reboot the computer
The display will now view in high colour mode with customisable resolutions above 640x480 (VGA).
Download:
VMEMP Generic Display Driver (use stable version 3.0)
Improving Remote Access
Hyper-V Virtual Machine Connection provides you with an interface into NT 4.0, but it has some limits. As Microsoft no longer supports NT 4.0 or Windows 2000 in Hyper-V (in fact it never has), it is not possible to make use of cursor integration or direct clipboard (copy/paste) support. You can recover both aspects of functionality by installing RealVNC Server 3.3.7.
Run 'vnc-3.3.7-x86_win32.exe'.
Follow the installation selecting Full Install. Tell VNC to install as a System Service and to start immediately. Once installed, open RealVNC server Default Properties via Start Menu > Programs > RealVNC > VNC Server > Show Default Properties. Enter a password and press OK to enable the server.
You can now use any VNC client on PC, Linux or Mac to connect to the NT 4.0 install. If your client supports cursor integration and clipboard pass through, so too will your new NT 4.0 installation.
Download:
VNC Server 3.3.7 x86
Accessing File Shares
By default, Windows 10 has disabled access to SMB 1.0 shares. This will prevent both NT 4.0, Windows 2000 and Windows XP from accessing Windows 10 and in turn Windows 10 from accessing the Virtual Machine over SMB.
If you wish to re-enable SMB 1.0 file sharing in Windows 10
- Open the classic Control Panel
- Open Programs and Features
- Select 'Turn Windows features on or off'
- Enabled 'SMB 1.0/CIFS File Sharing Support' - from the child items, select the Client to allow Windows 10 to access NT 4.0. Select the Server to allow NT 4.0 to access Windows 10.
Installing Windows CE Development Tools
Embedded Visual Tools 3.0 (eVT 3.0)
If you only intend to target H/PC Pro (Windows CE 2.11) and HPC2000 you can install eVT. If you intend to target Windows CE 2.00 and higher, you must install Visual Studio 6 instead of eVT 3.0.
Note: Do not attempt to change any of the installation paths for Embedded Visual Tools. Doing so will result in path issues that will have to be fixed by hand in config files, source files and the registry.
- Double click on the EN_WINCE_EMBDVTOOLS30.exe to launch the extractor tool
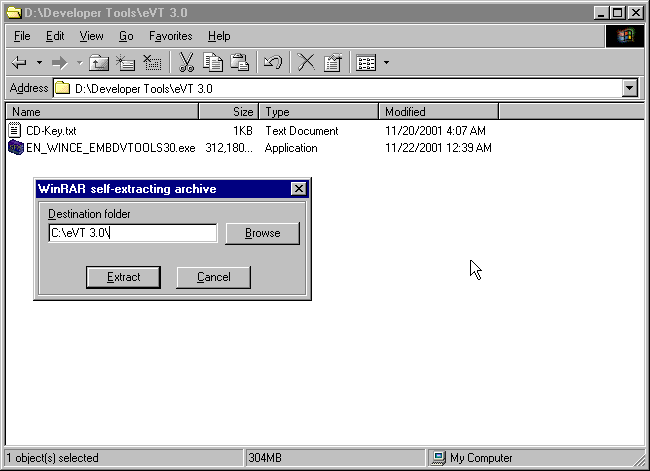
- Extract the contents to the hard drive e.g.
C:\Temp
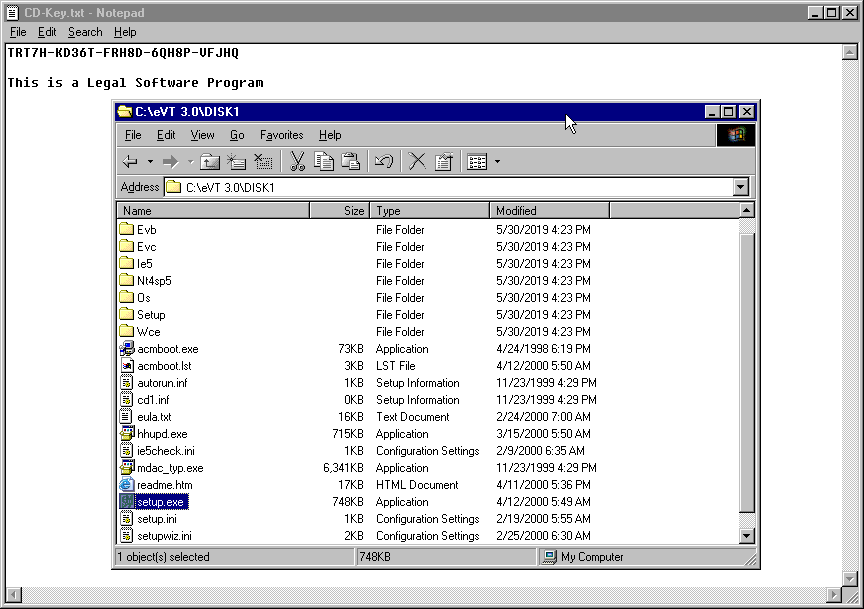
- Use Windows Explorer to browse to the extracted files and double slick setup.exe to launch the installer
Note: If you receive an error about setup being unable to read files, ensure that the folder you extracted into does not contain a space or a period in the folder name.
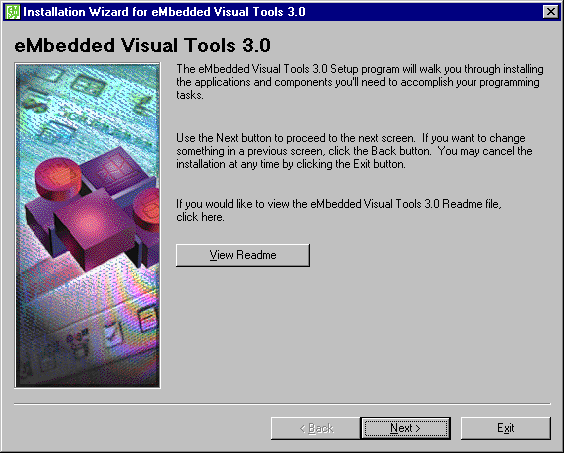
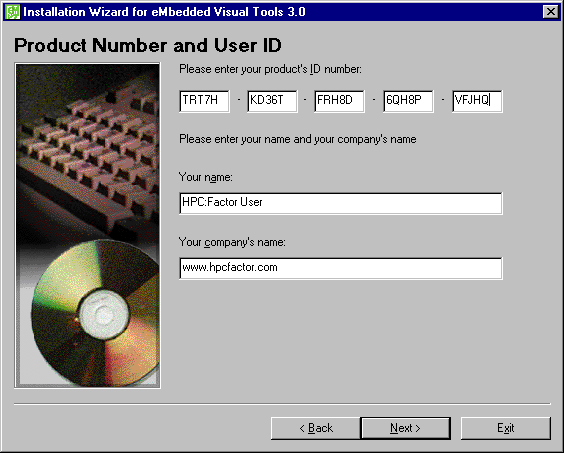
- Click Next to proceed
- Enter the (common) license key and your user details
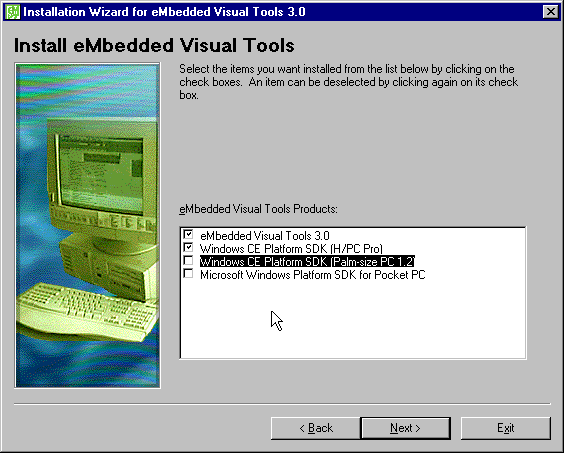
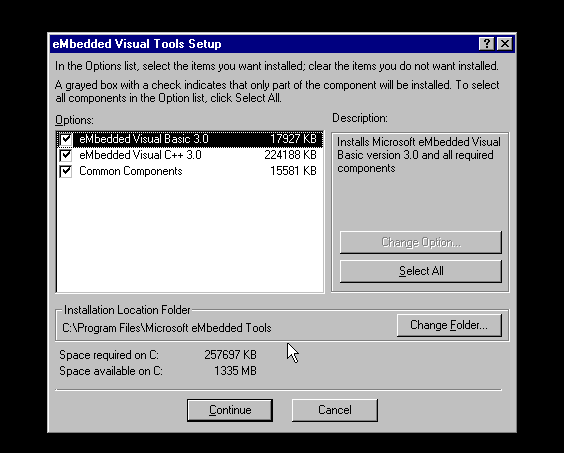
- Select which platforms you wish to target. If you do not intend to target the Palm-Sized PC or Pocket PC 2000, deselect them from the list to save on disk space
- Do not change the default installation folder (it creates problems later)
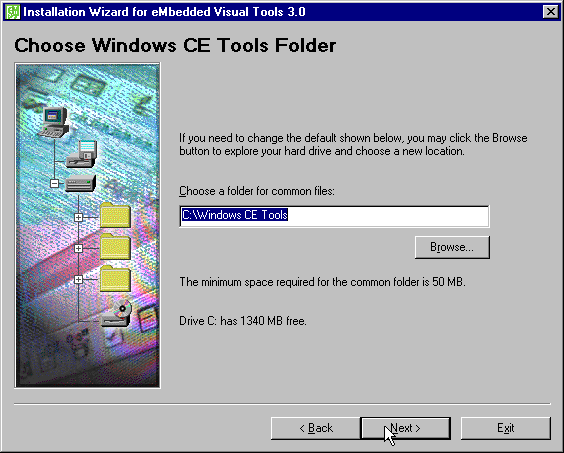
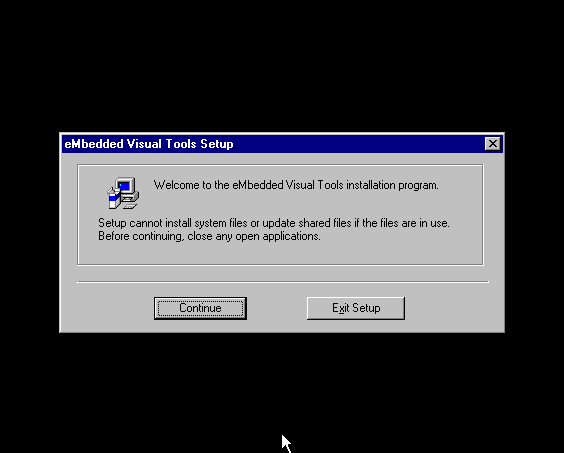
- Click Continue to proceed
- Choose whether you wish to install C++, Visual Basic or both. Do not deselect the common components
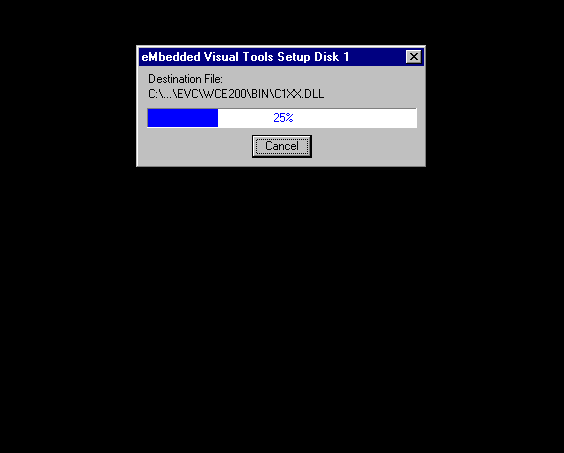
- Wait what eVT installs
- Once installation has completed you must restart the Virtual Machine
HPC2000 SDK
- Install the HPC2000 Platform SDK into the default location to complete setup.
.\HPC2K-SDK_USA.exe
Visual Studio 6
The following lists the steps to install Visual Studio 6 Enterprise. The steps may vary depending upon the edition you intend to use.
Note: Do not attempt to change any of the installation paths for Visual Studio or the Windows CE Toolkit. Doing so will result in path issues that will have to be fixed by hand in config files, source files and the registry.
- Insert the CD or ISO image for Visual Studio 6 Disk 1 into the Virtual Machine
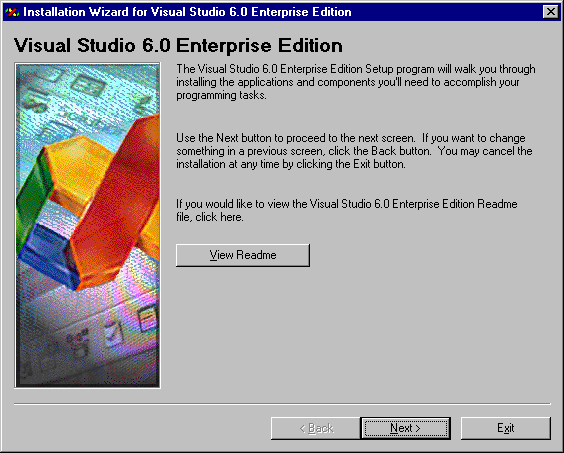
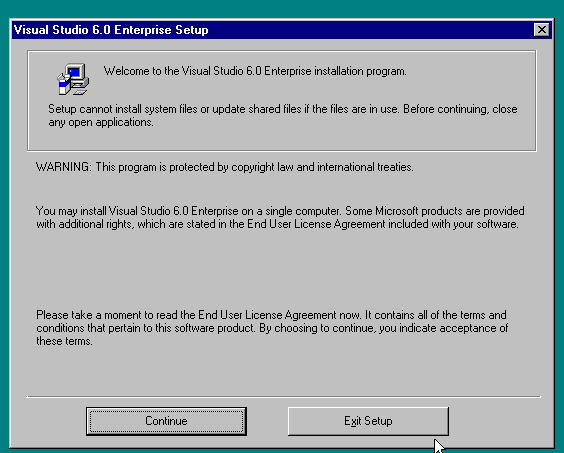
- The Visual Studio installer will usually start on its own. If it doe not, run setup.exe from the root of the CD. Click Next to continue
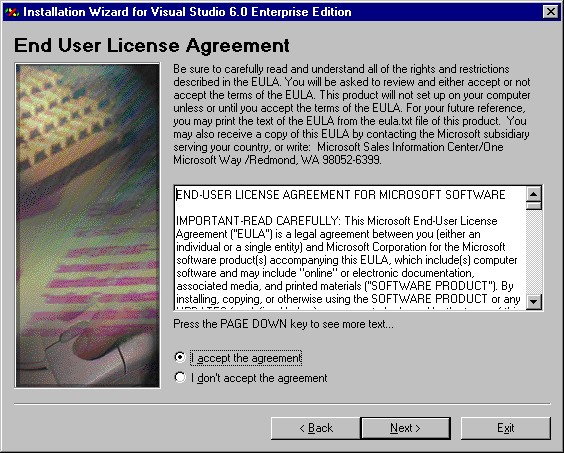
- Accept the EULA and click Next
- Enter license key and user details as appropriate
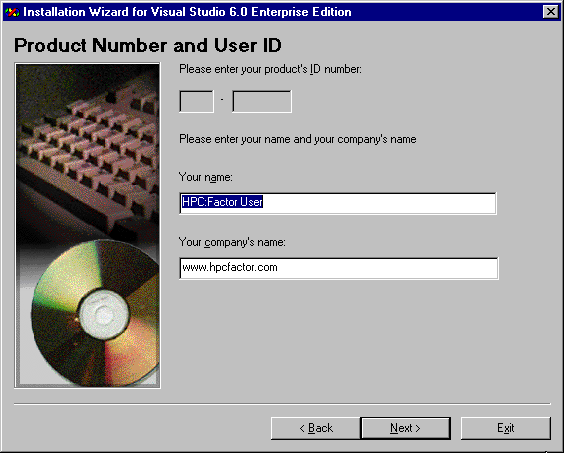
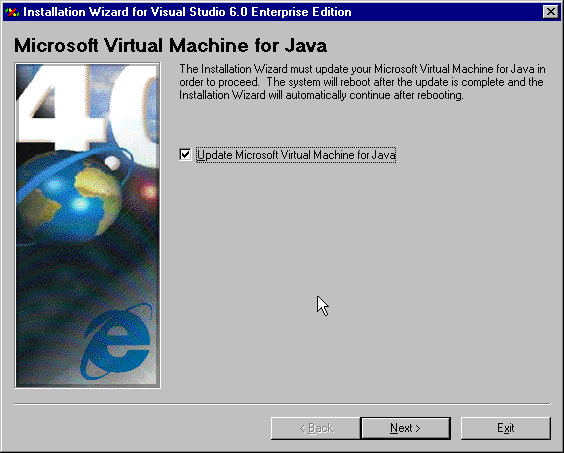
- Agree to update the Microsoft Java runtime, click next and when prompted allow the system to reboot. After the restart setup will continue
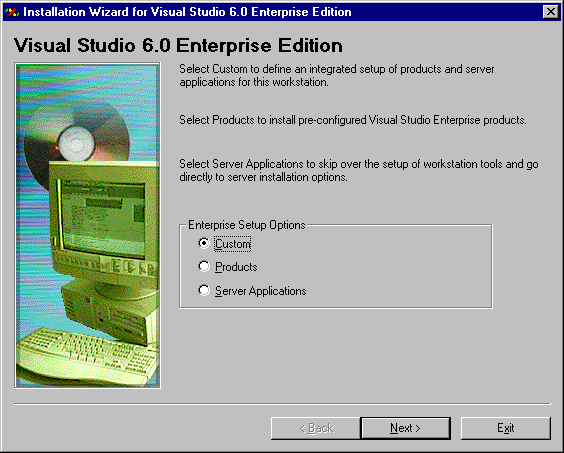
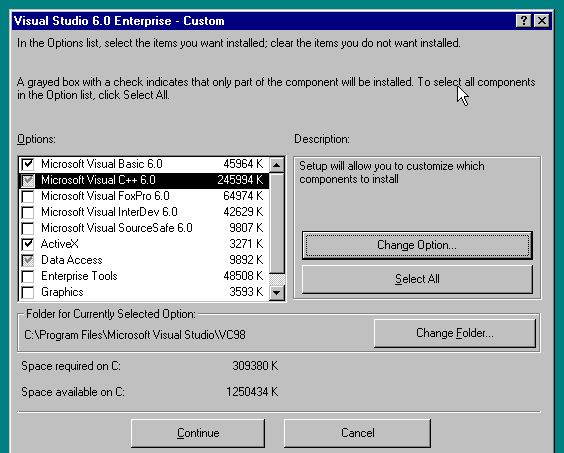
- Choose to perform a Custom install and click Next
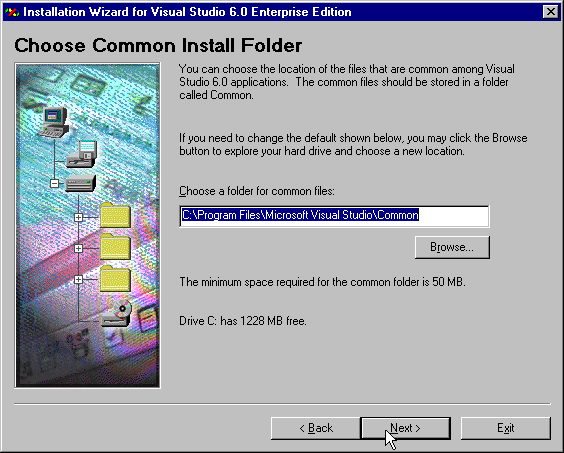
- Accept the default installation folder and click Next
- Click Continue to launch the confutation wizard
- Choose the components that you require. Visual Basic, C++, ActiveX, Data Access and Tools (not shown) are suggested
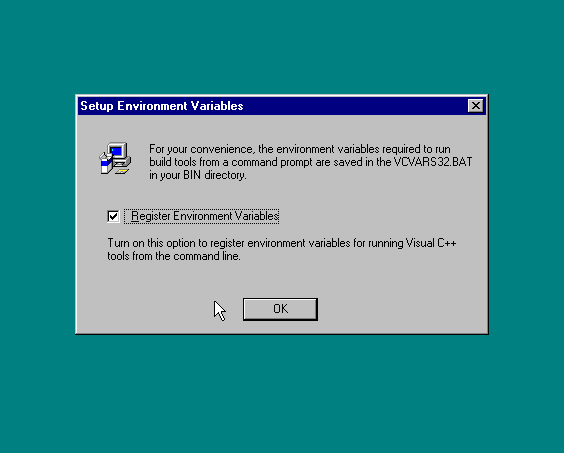
- Instruct setup to register the environment variables with the system (this makes using C++ easier later)
- After Visual Studio has installed, you must restart Windows

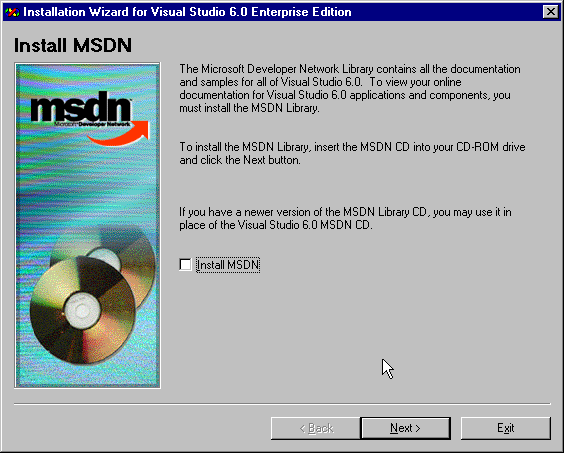
- After the reboot, you will be asked whether or not to install the MSDN documentation library. This is optional.
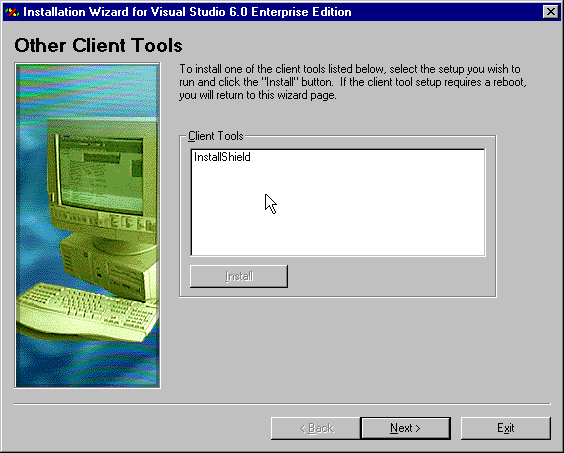
- You will be asked whether or not to install the InstallShield setup tools (optional)
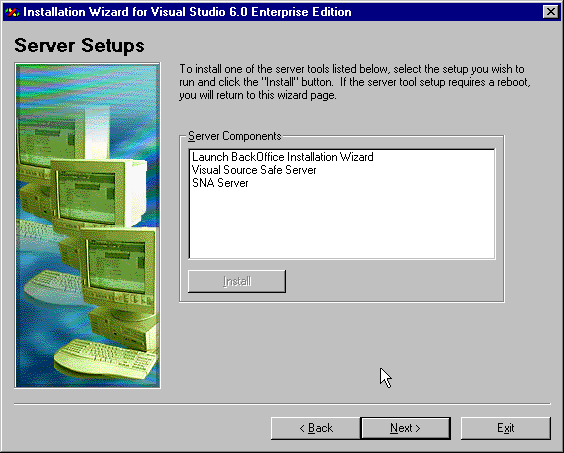
- Finally you will be asked whether to install any enterprise source code management tools (optional)
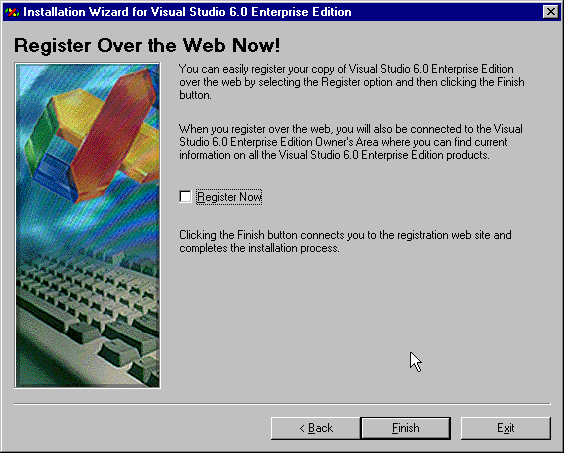
- Click Finish to close the wizard
- If you wish to patch Visual Studio you must do so now. Note that the Windows CE development tools are not compatible with Visual Studio 6 Service Pack 6.
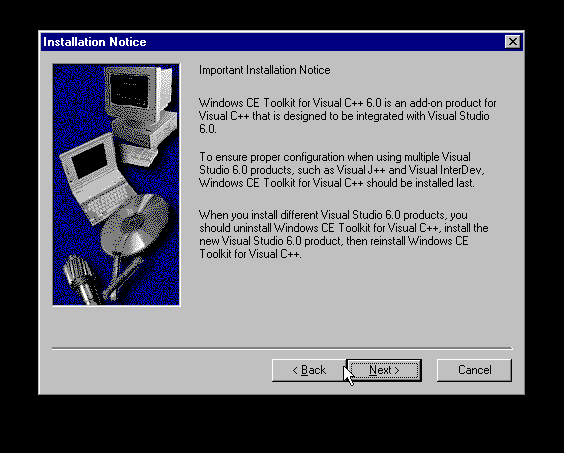
Windows CE Toolkits
The CE Tool Kit upgrades Visual Studio (for PC) with components necessary to support Windows CE.
There are two tool kits, one for C++ and the other for Visual Basic. Both must be installed separately and at this point. This section will follow through the installer for C++. The installer for Visual Basic is similar.
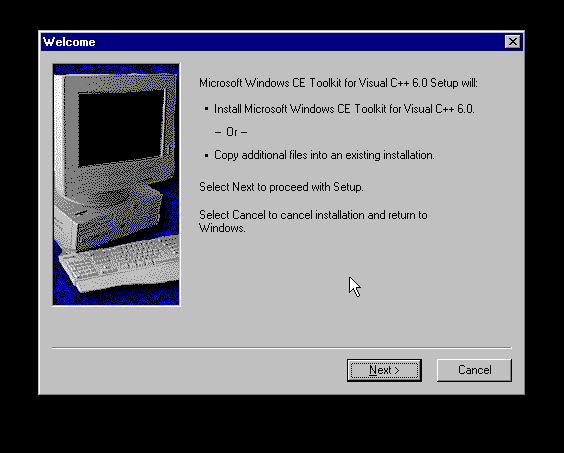
Run 'en_wince_toolkit_c_pp.exe' and inflate the installer to a folder on the hard drive. Run the setup file
Select Next to begin the wizard
[Important] Ensure that you take note of this warning message. If you alter the Visual Studio installation, you must re-install the Windows CE Toolkits
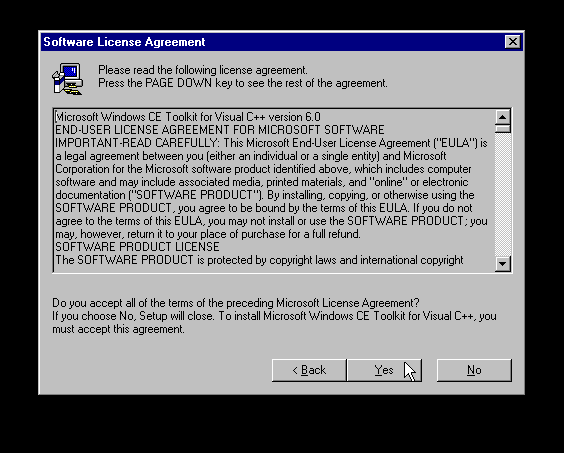
Accept the EULA
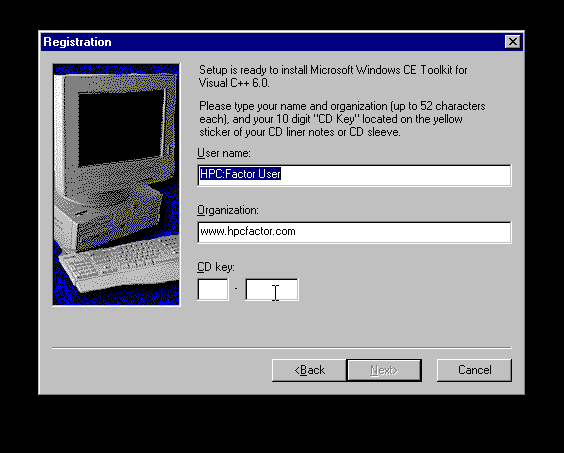
Enter user details and the license key
Select Custom setup
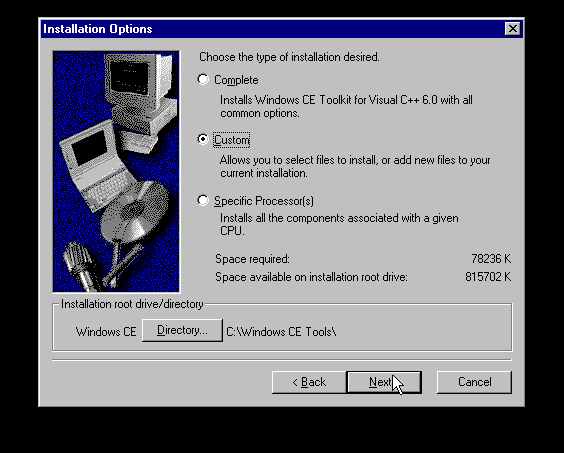
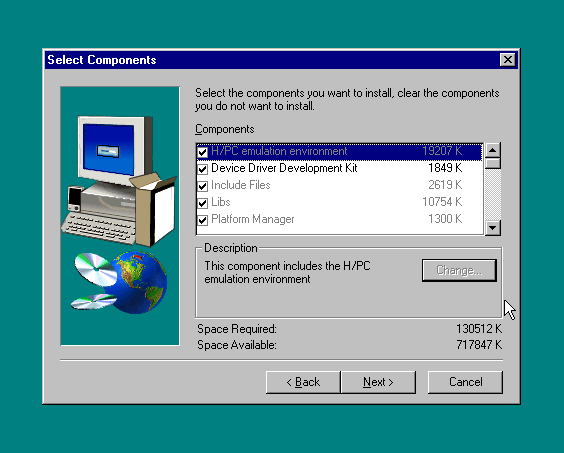
Make optional component selections
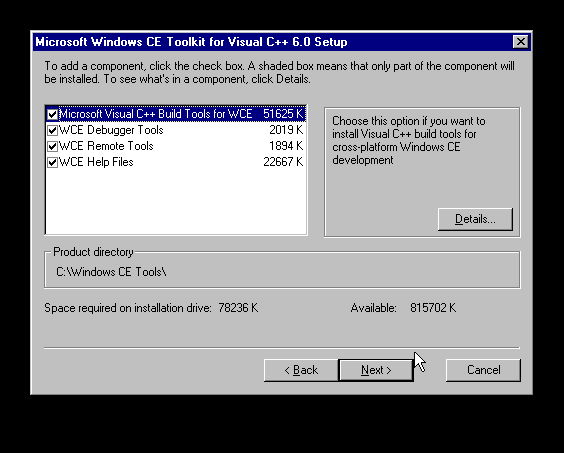
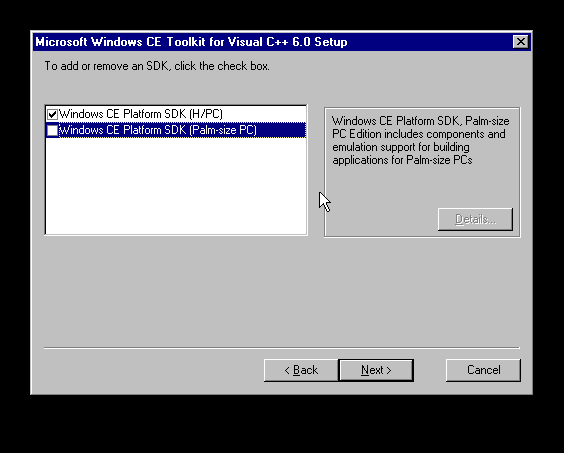
If you are only intending to target the Handheld PC, deselect the Palm-Size PC SDK to save space
Click Next to commence the file copy
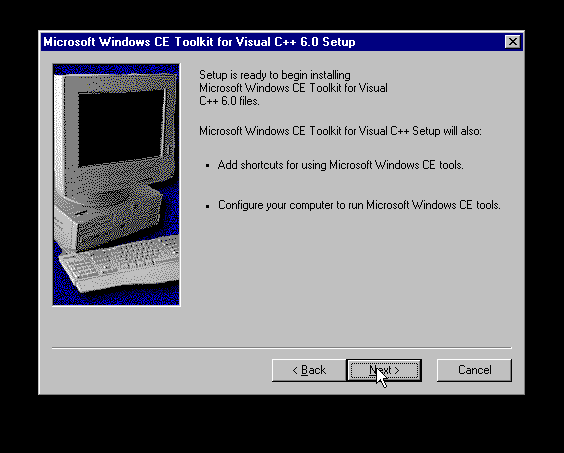
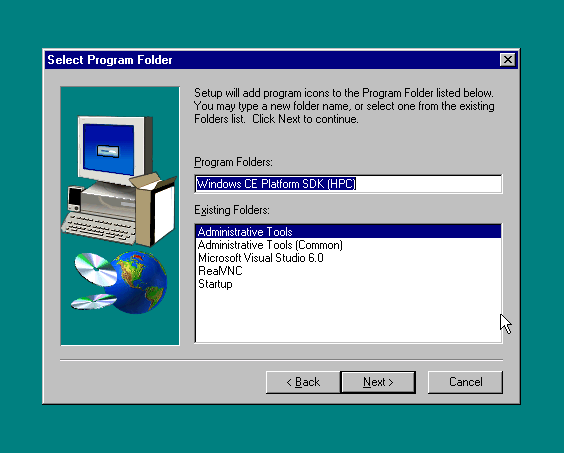
After the Windows CE Tool Kit itself has installed, setup will launch the H/PC SDK installer (Windows CE 2.0 SDK)
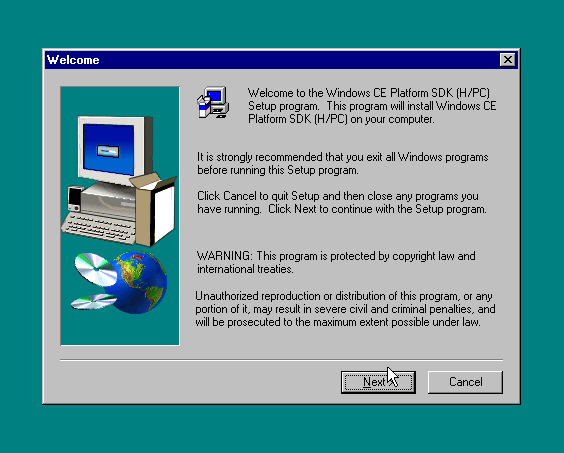
Accept the EULA
Enter user details
Accept the default installation path

Choose a Custom installation
Make any optional component selections that you require
Accept the default Start Menu shortcuts location
Review the summary
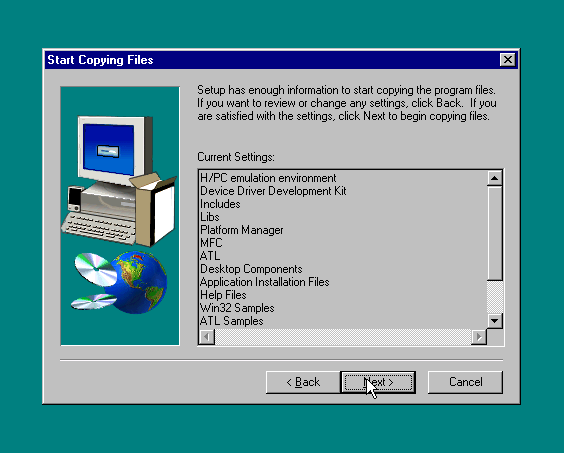
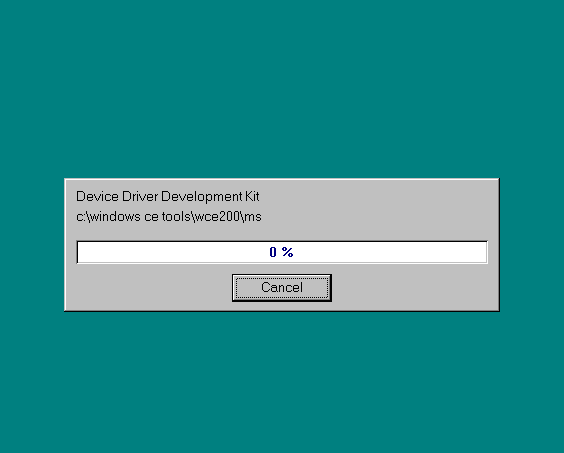
The SDK will now install
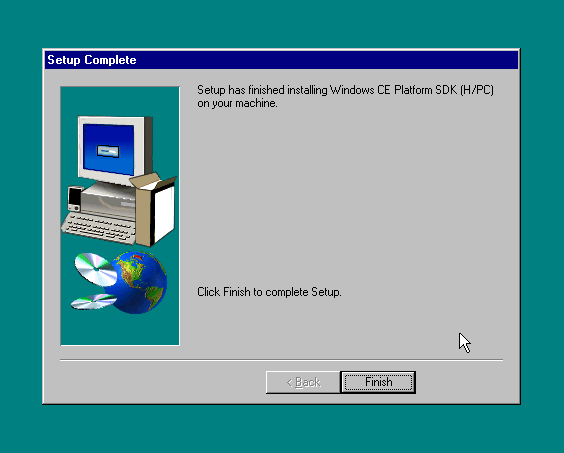
To complete setup, click Finish
The basic tools necessary to target Windows CE 2.00 are now installed. If you require support for Windows CE 2.11 (H/PC Pro) or Windows CE 3.0 (HPC2000). You must install the additional SDK's.
H/PC Pro SDK
Install the Handheld PC 3.0 Professional Platform SDK into the default location to complete setup.
.\sdk.exe
HPC2000 SDK
Unlinke the Handheld PC Professional 3.0 SDK, the HPC2000 SDK does not contain the Windows CE 3.0 compilers and linking tools. After installing the HPC2000 SDK you must copy the compiler resources from the Embedded Visual Tools 3.0 installer into place.
Install the HPC2000 Platform SDK into the default location to complete setup
.\HPC2K-SDK_USA.exe
Extract the contents of the Embedded Visual Tools 3.0 installer onto your hard drive
.\EN_WINCE_EMBDVTOOLS30.exe
From the extracted files. Copy the contents of .\DISK1\WCE\wce300 - the BIN and TARGET folders - into C:\Windows CE Tools\wce300, merging the existing folders together.
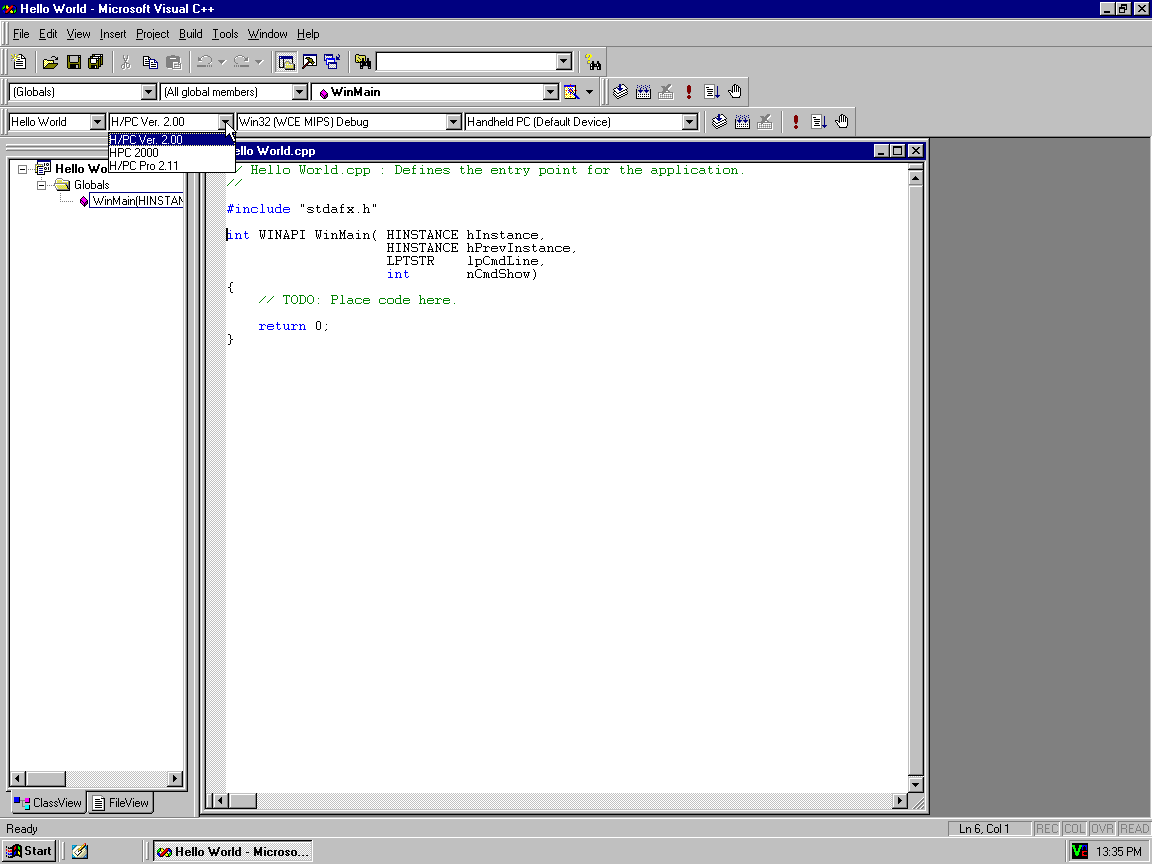
You will now be able to target HPC2000 using Visual Studio 6.
The installation of Visual Studio 6 for Windows CE Development is now complete
At this point, the Windows NT 4.0 install will be approximately 1.05 GB (excluding the page file).